
As part of our preparation for the games industry, BUas’s IGAD study program had us design and build a multiplayer deathmatch level for Unreal Tournament 4.
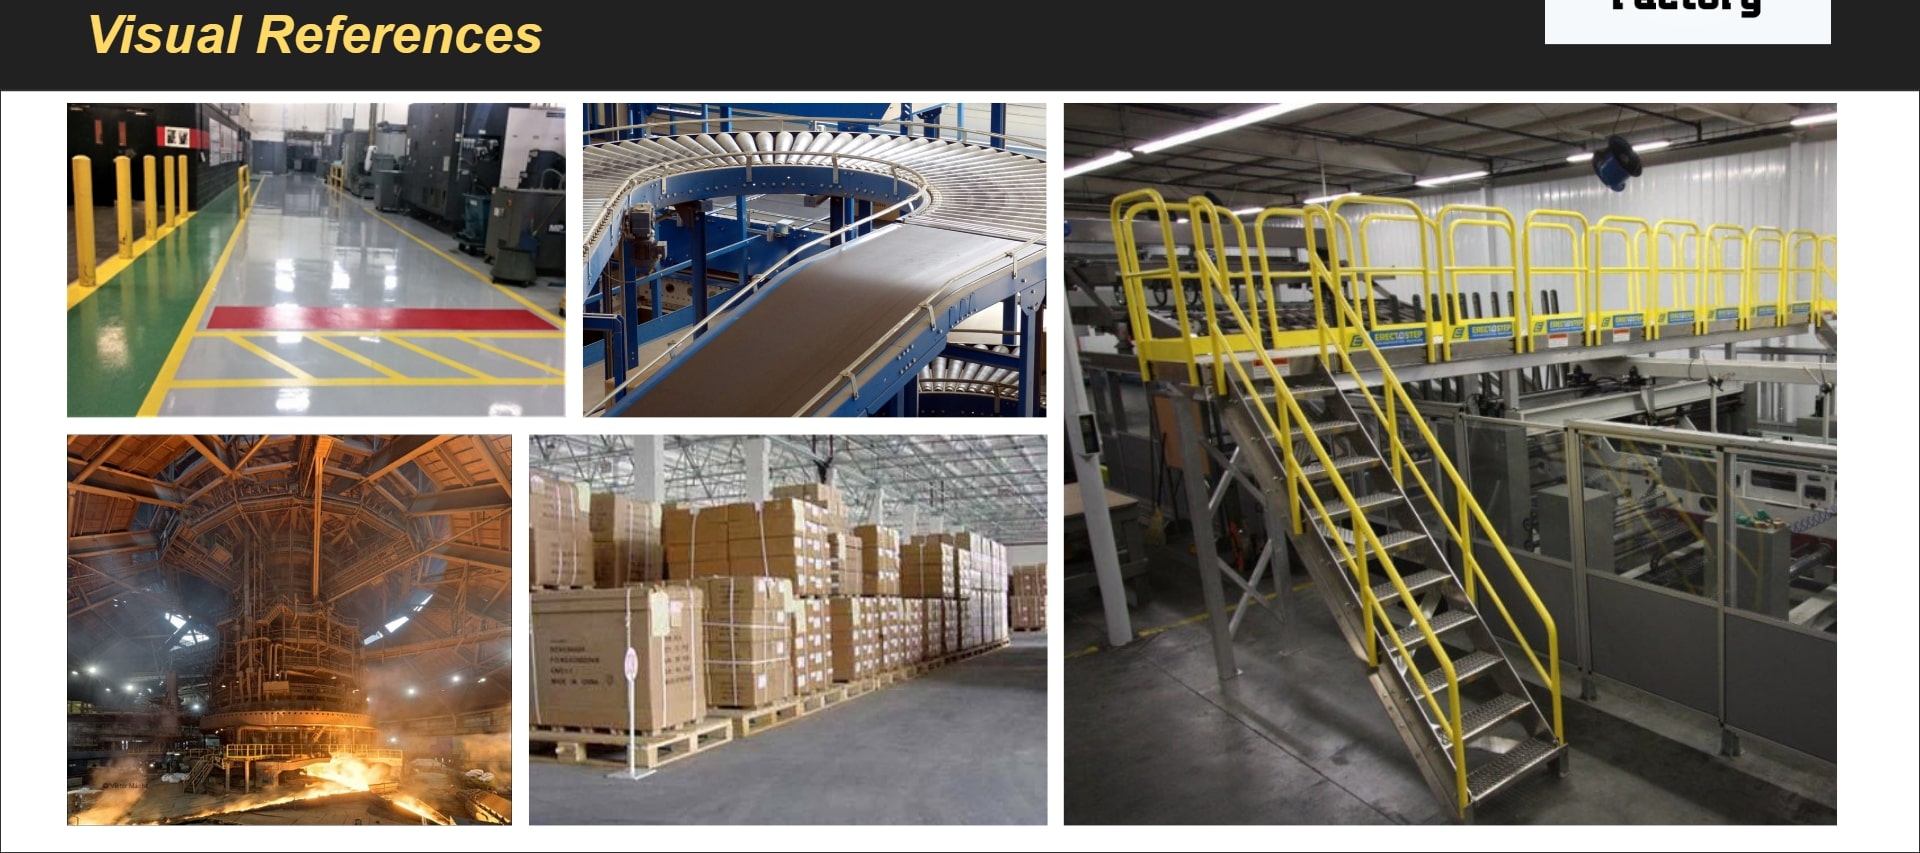
The Theme I choose: Weapon Testing Facility
Structure of my work in terms of level design milestones:
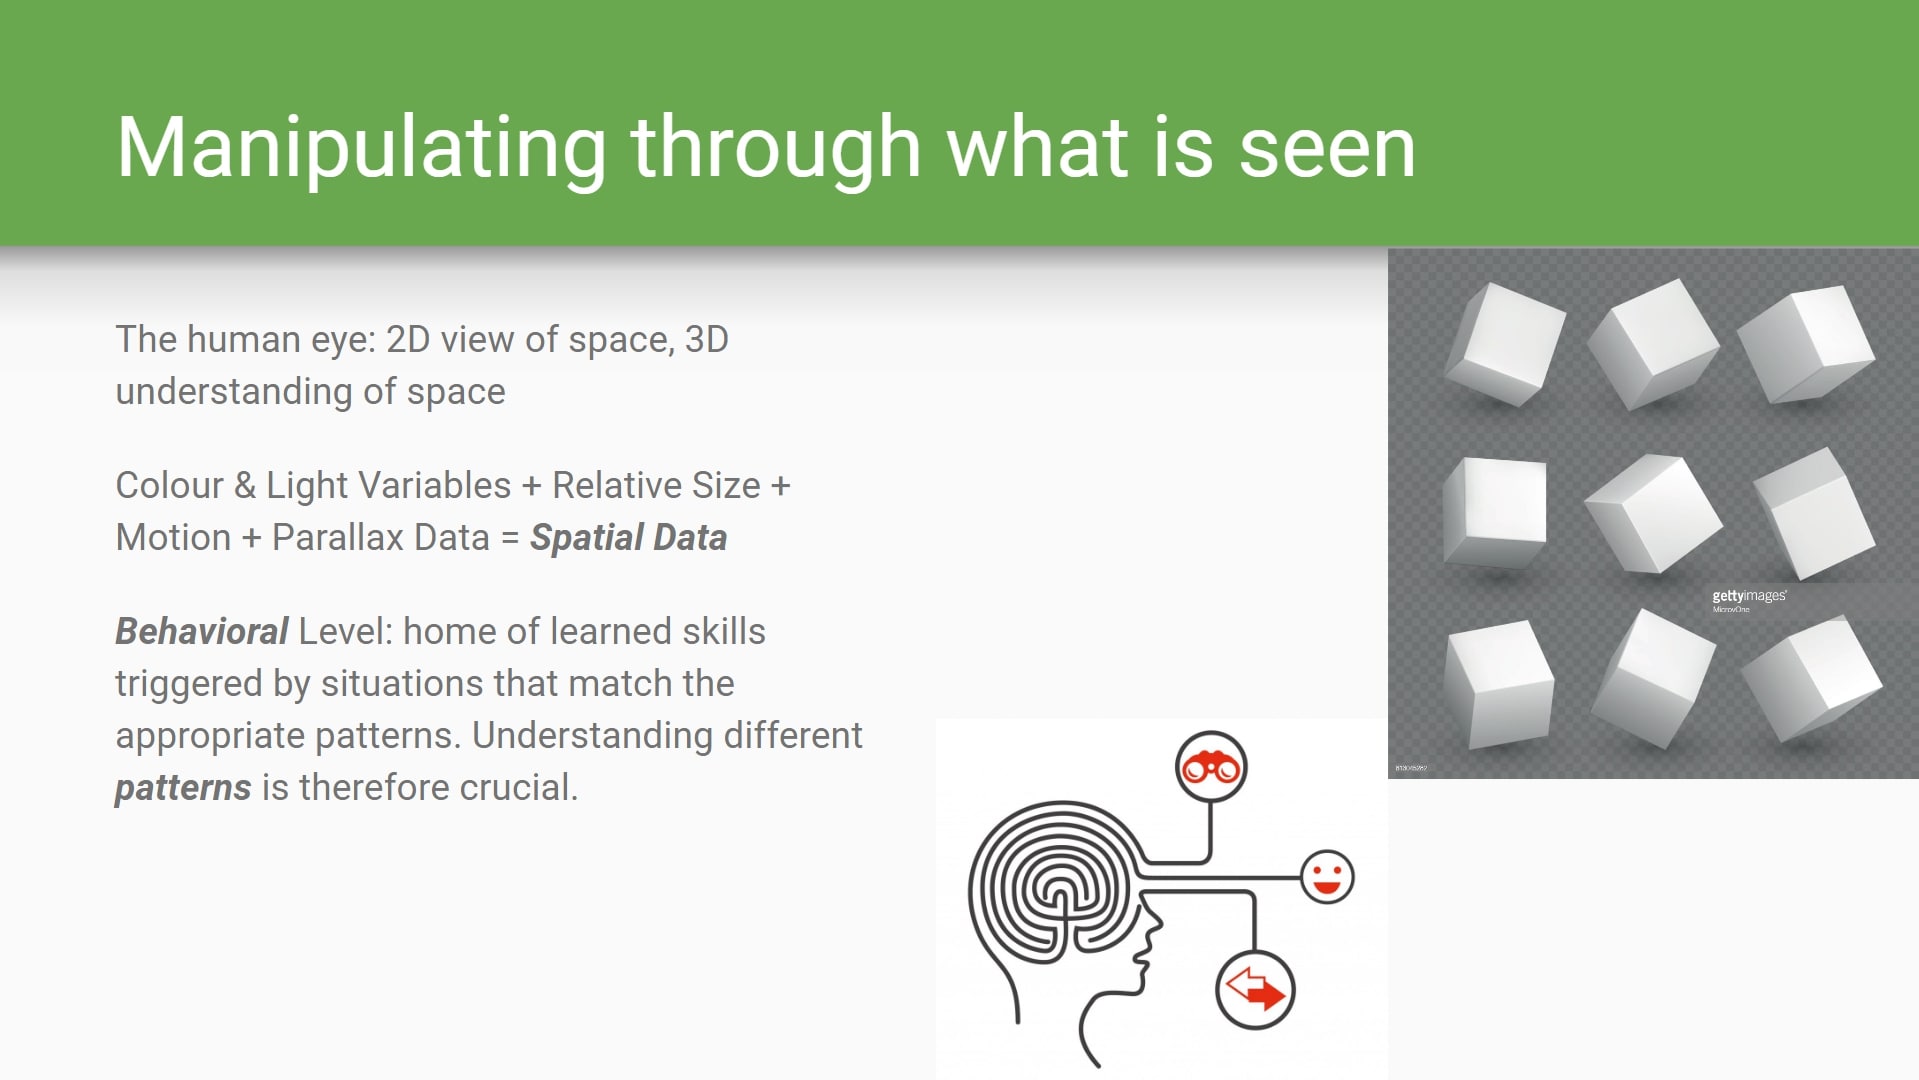
Since I didn’t have much experience with shooters, architecture, or visual design, I had to start from the beginning.
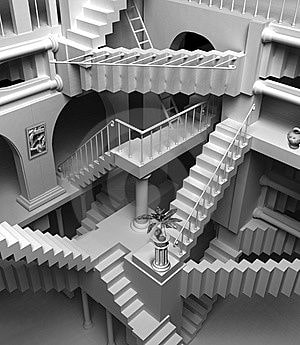
My mission – understand 3-dimensional space and how it relates to level design.
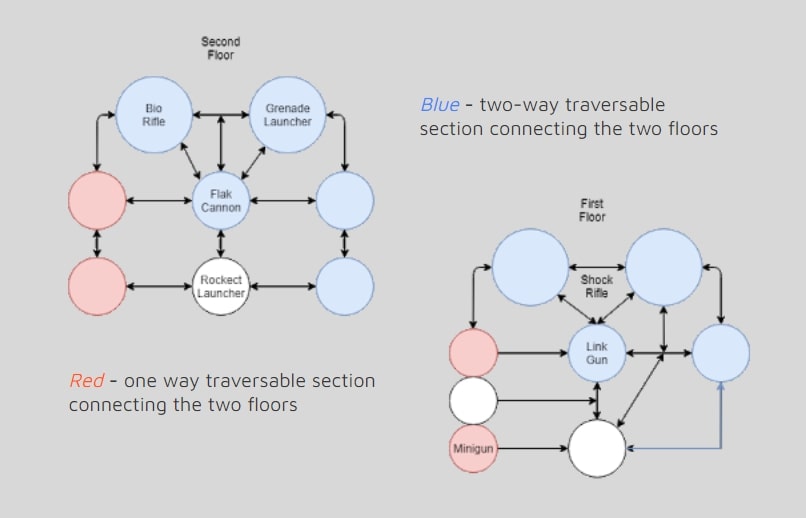
I designed the level by producing a variety of artefacts – rough blockout, nodemaps, reference materials, LD Document, etc.
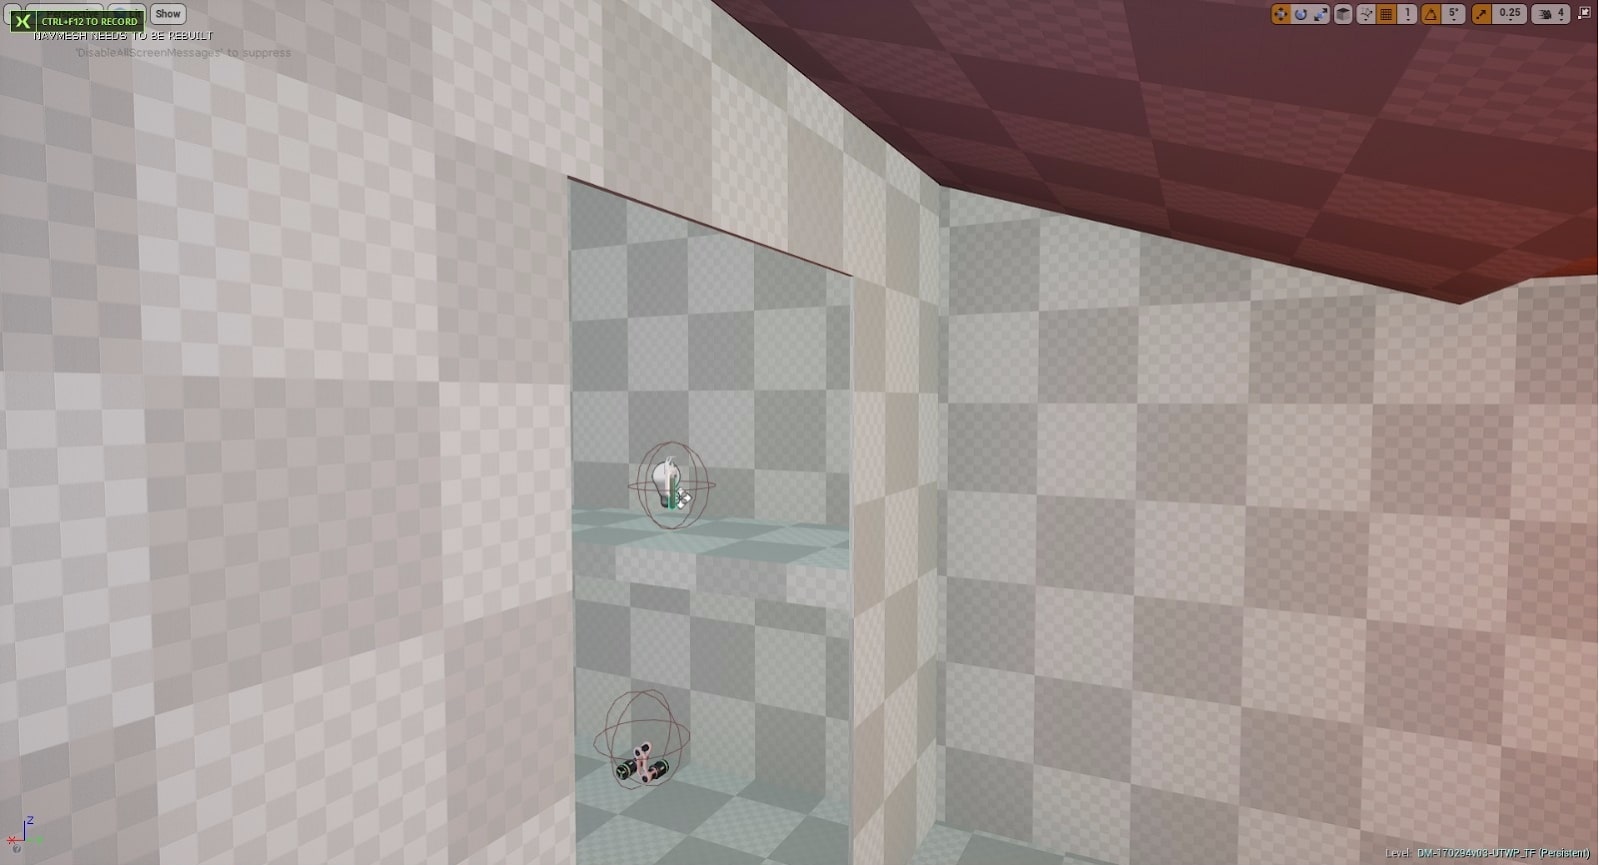
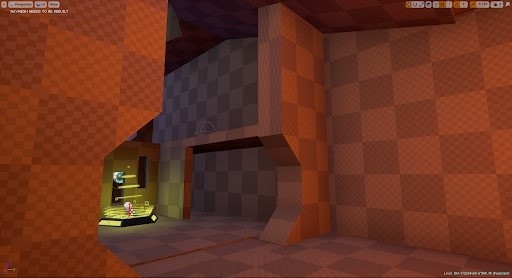
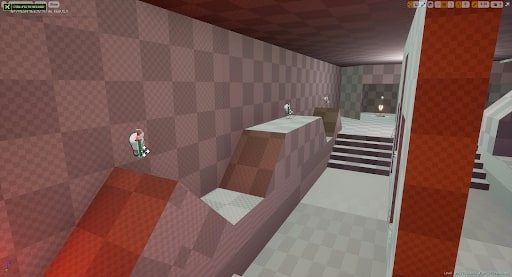
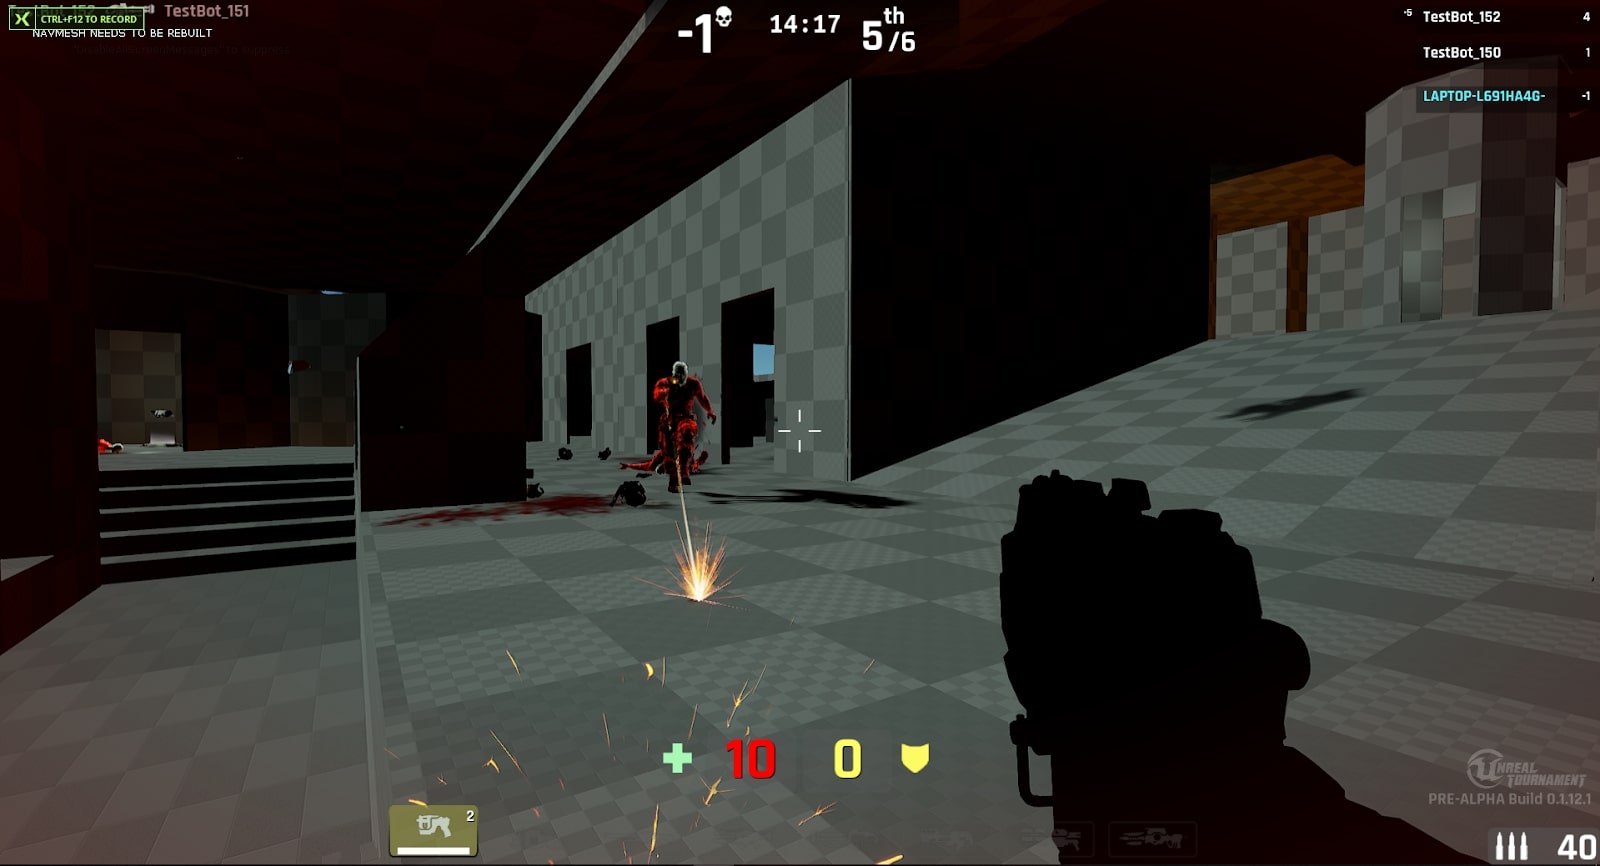
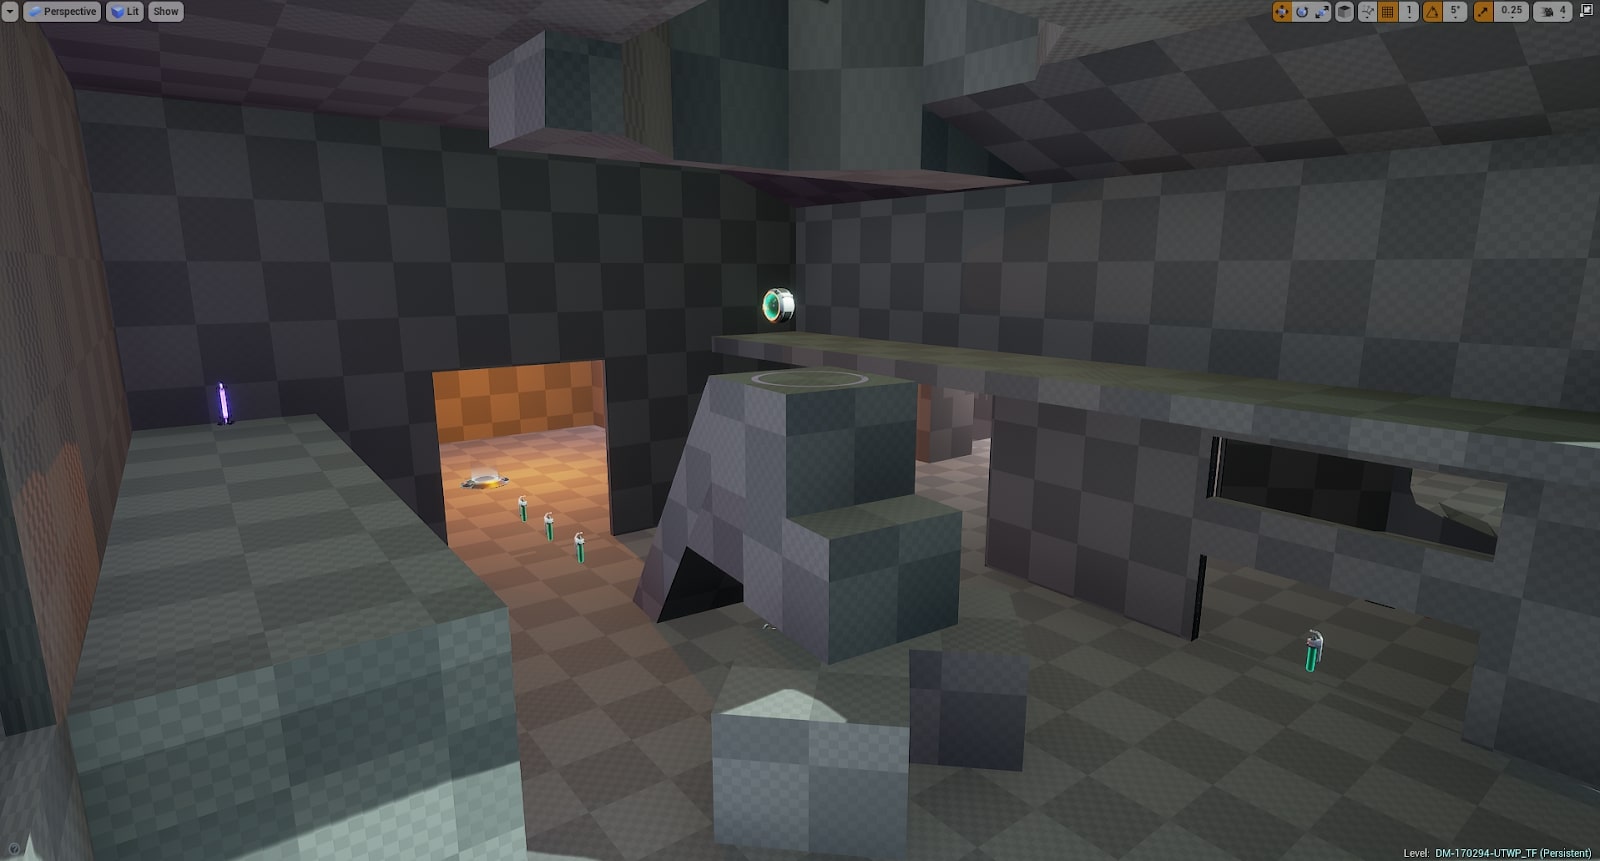
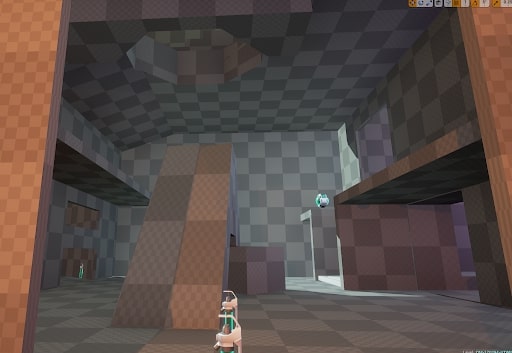
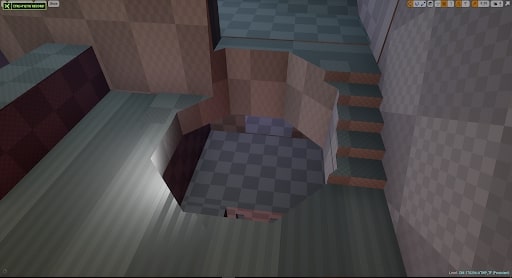
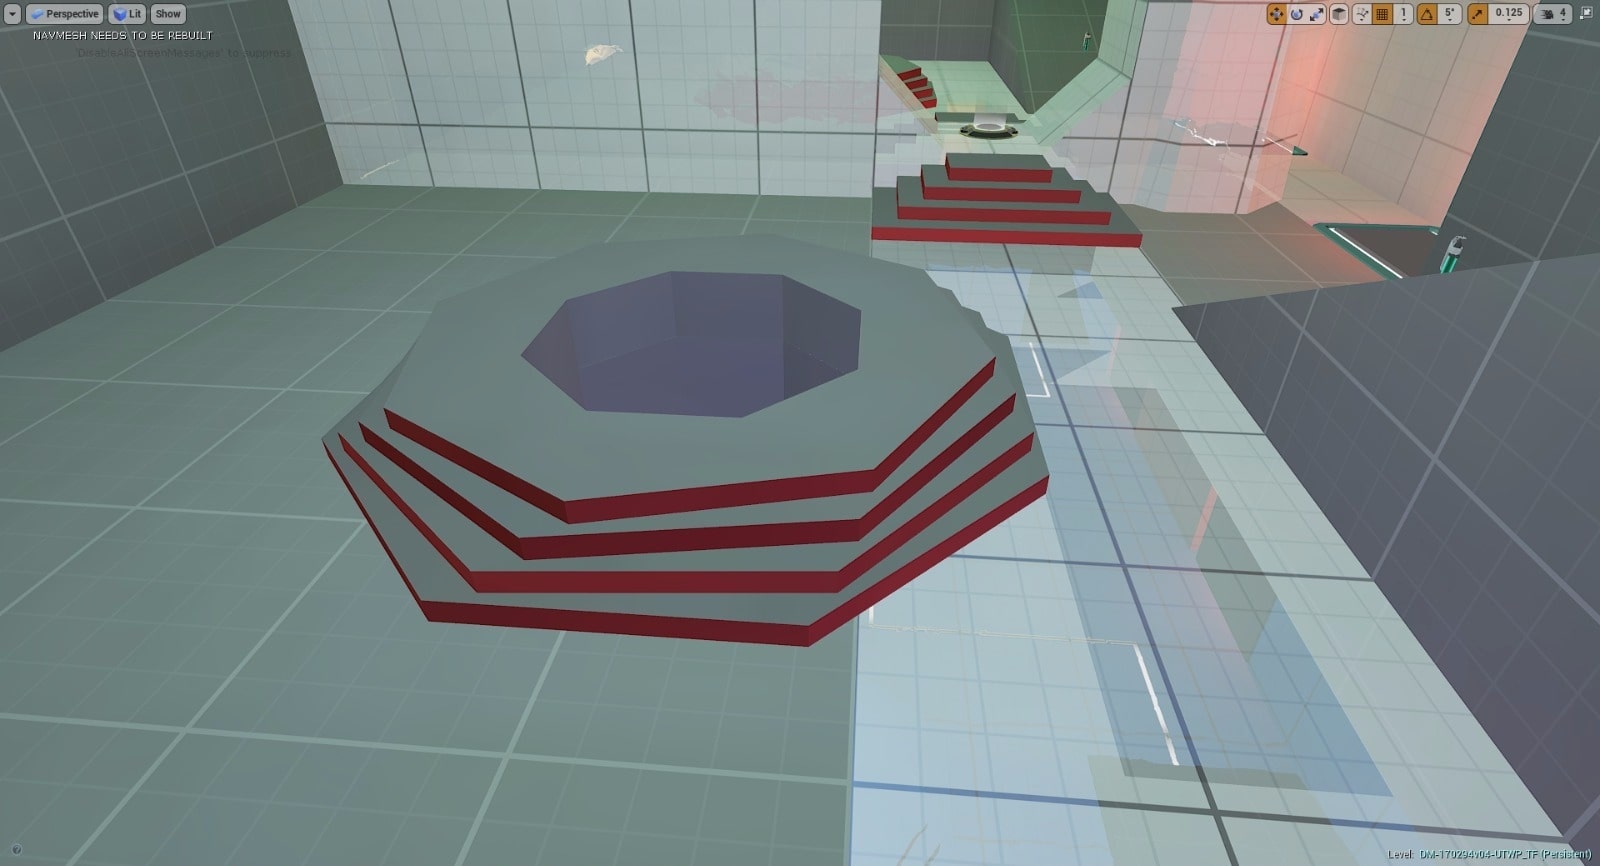
First rough Blockout
Final rough Blockout
To advance the map, I focused on enabling and supporting the game loop – balance, navigation, weapon rooms & locations, pickups, etc.
There was a concrete list to check off:
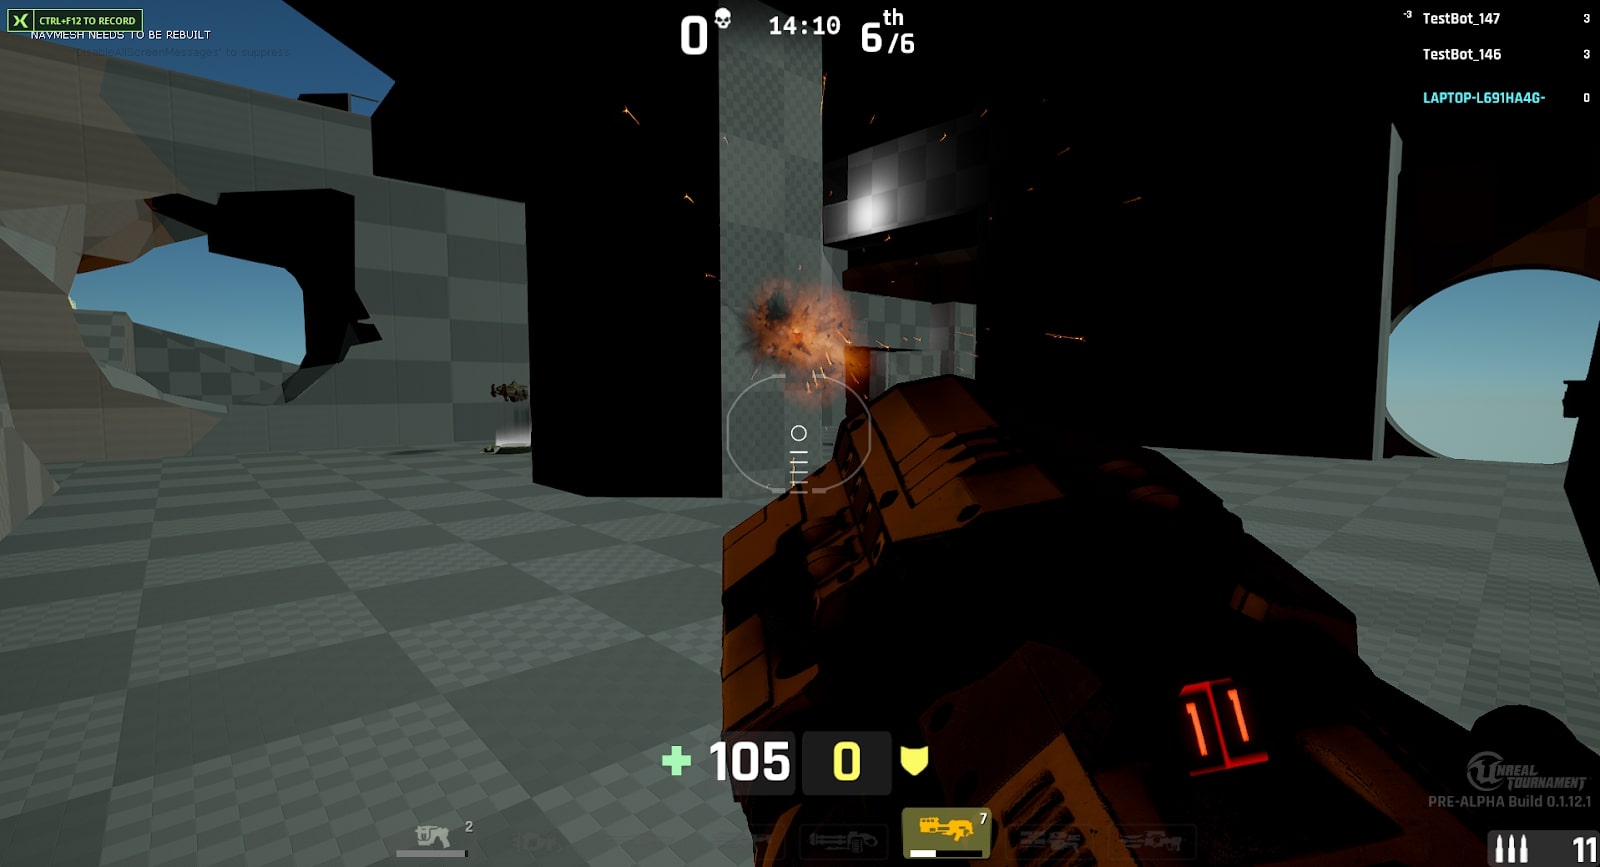
In order to keep moving, I focused only on enabling the game loop so the level could be optimized for lots of testing. I would need that to finalise the map.
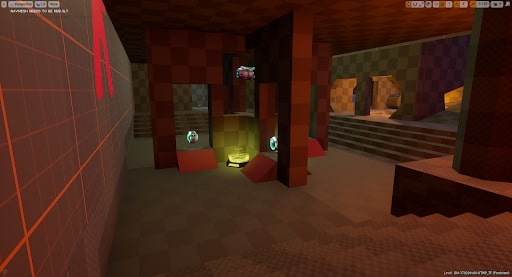
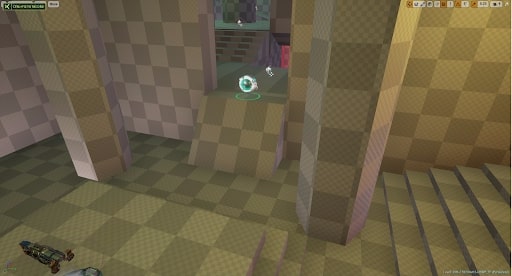
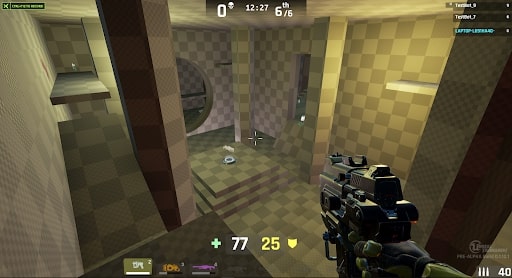
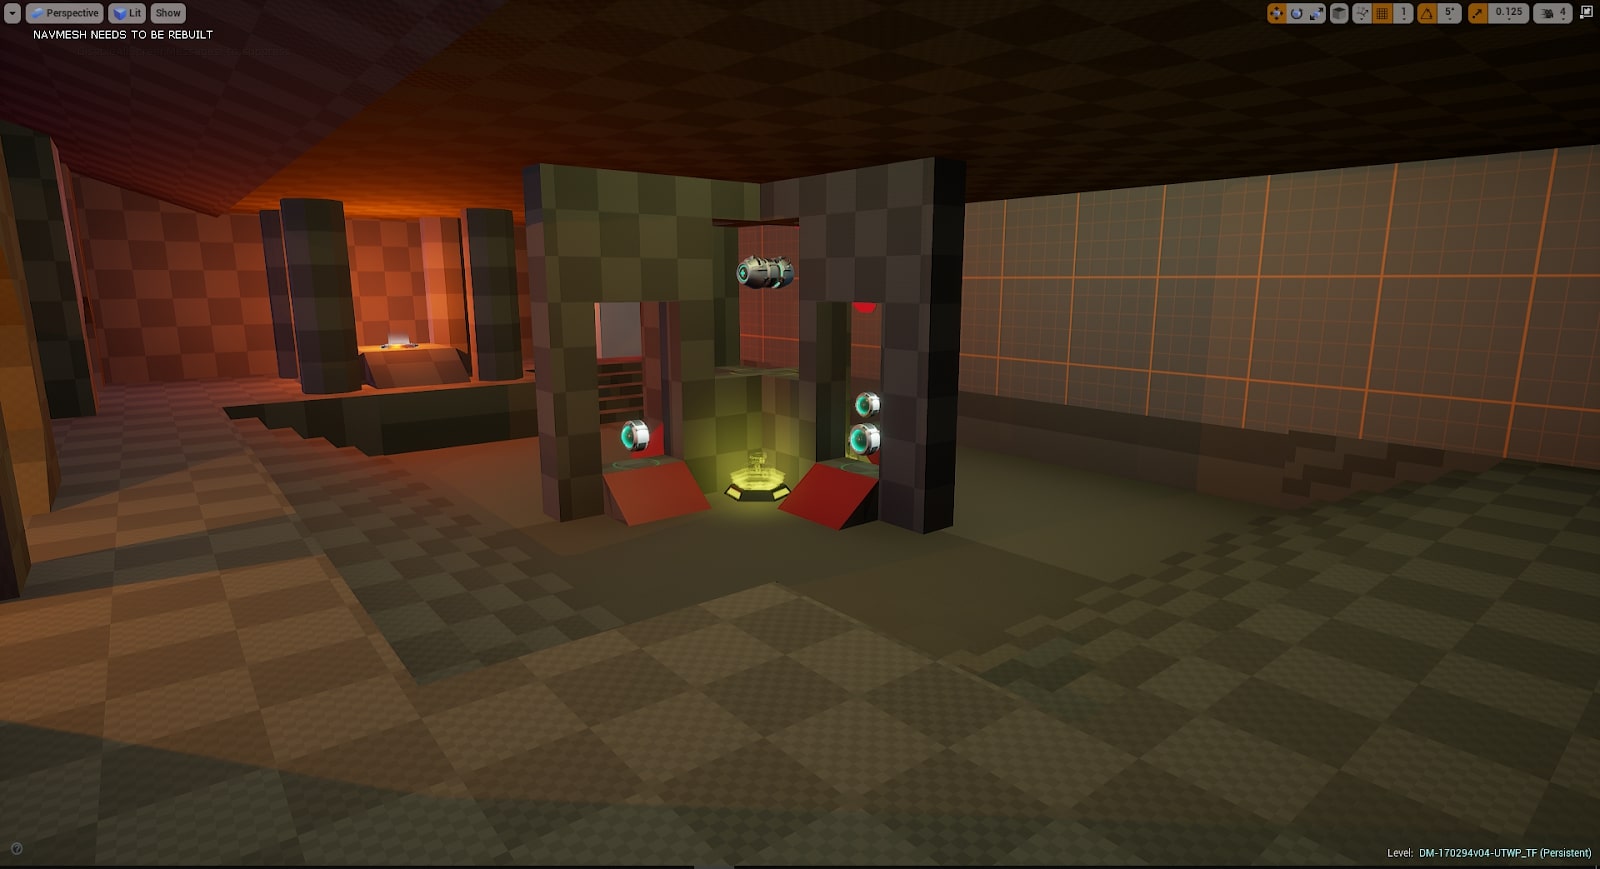
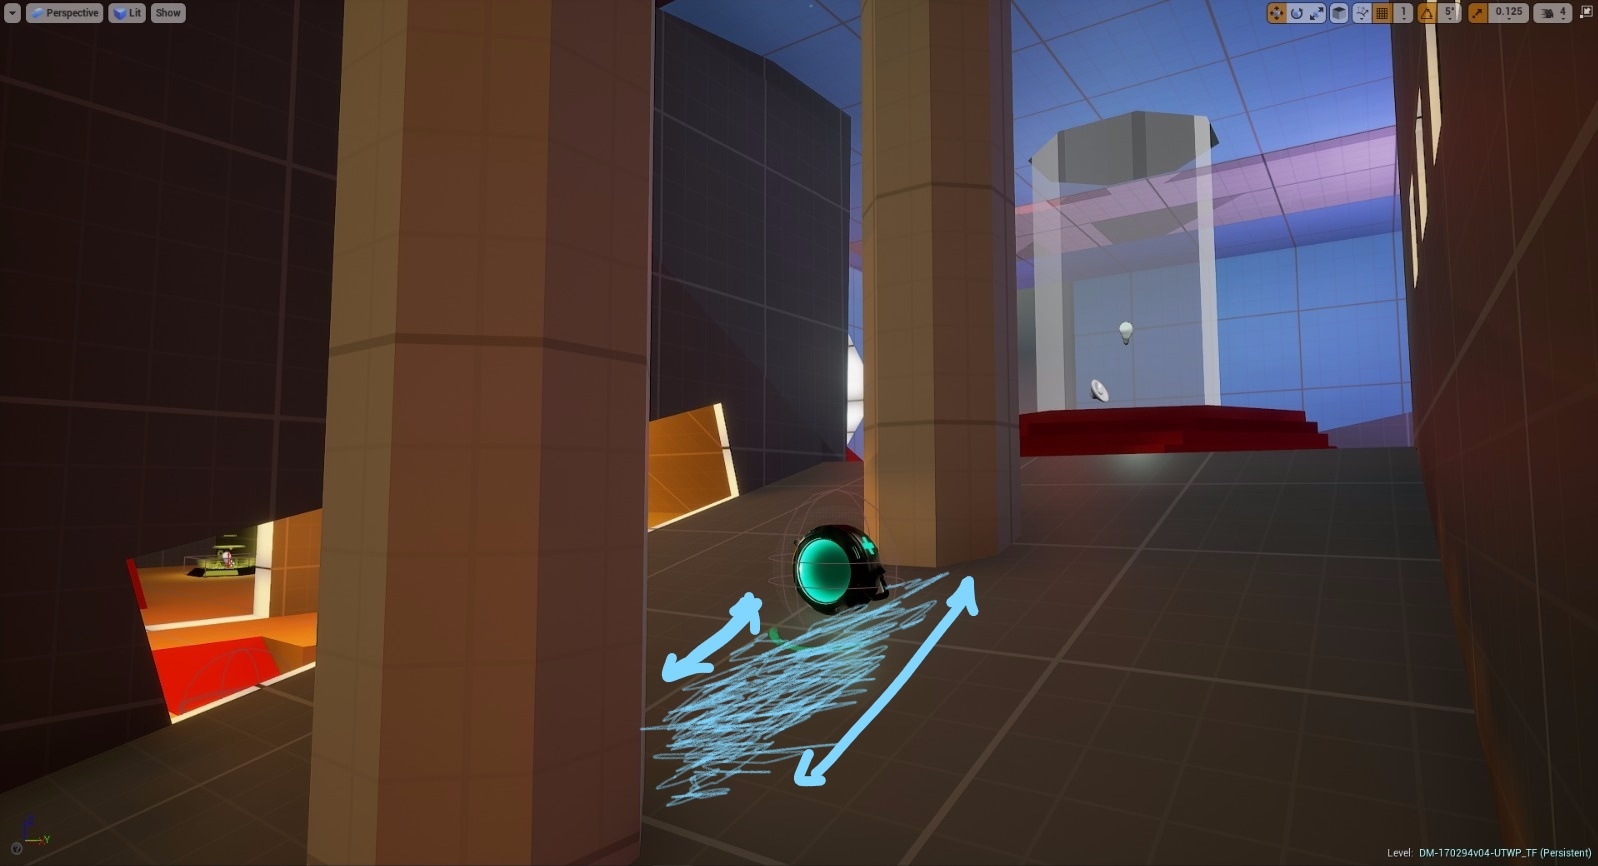
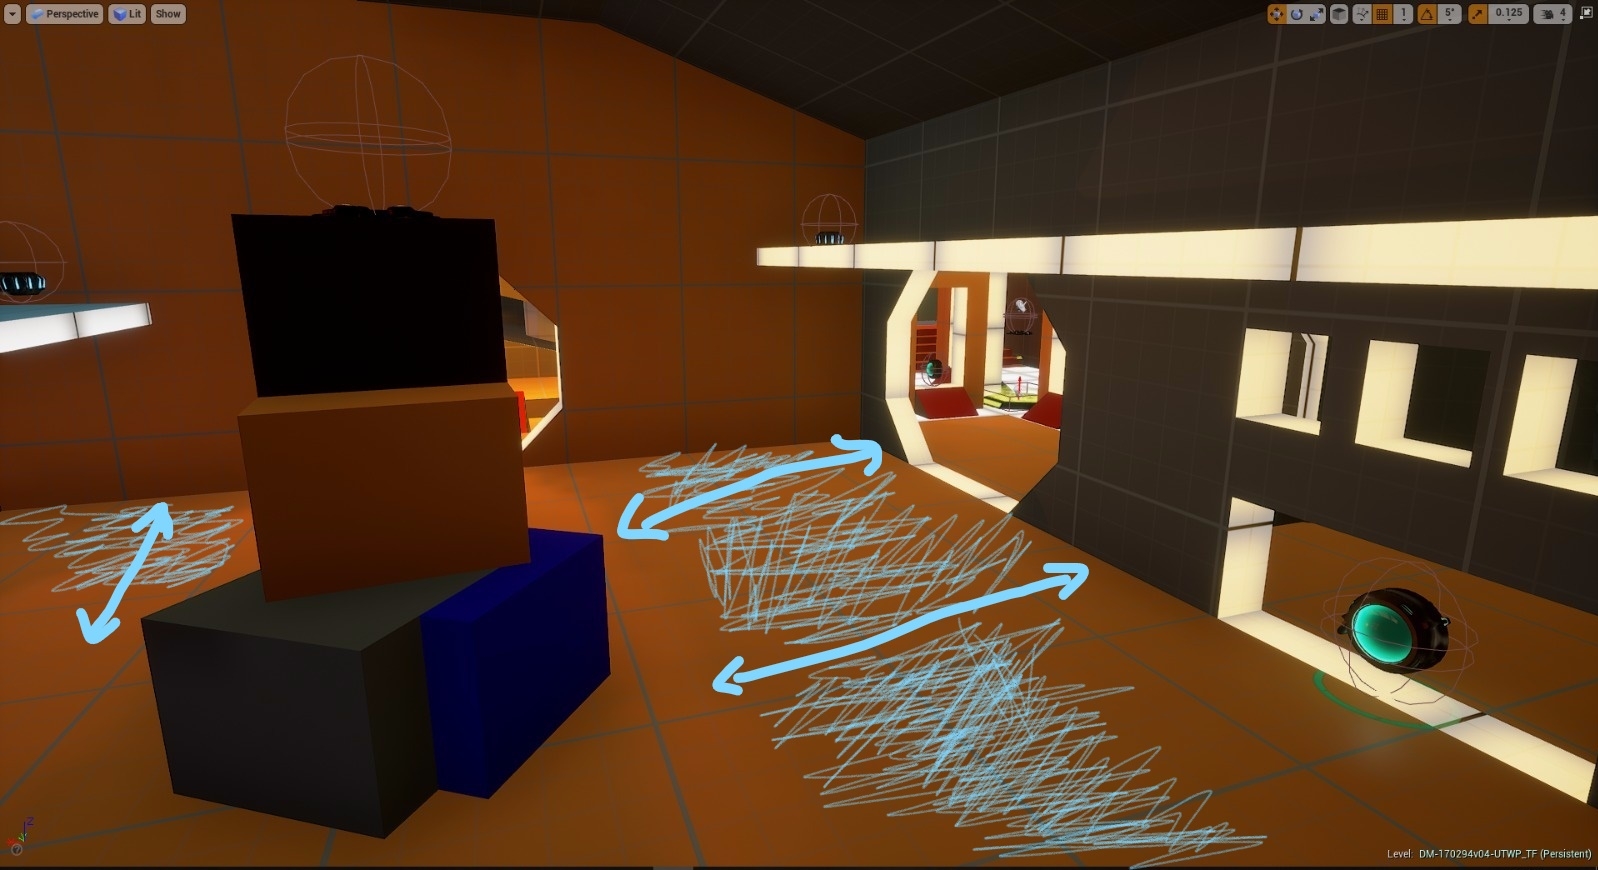
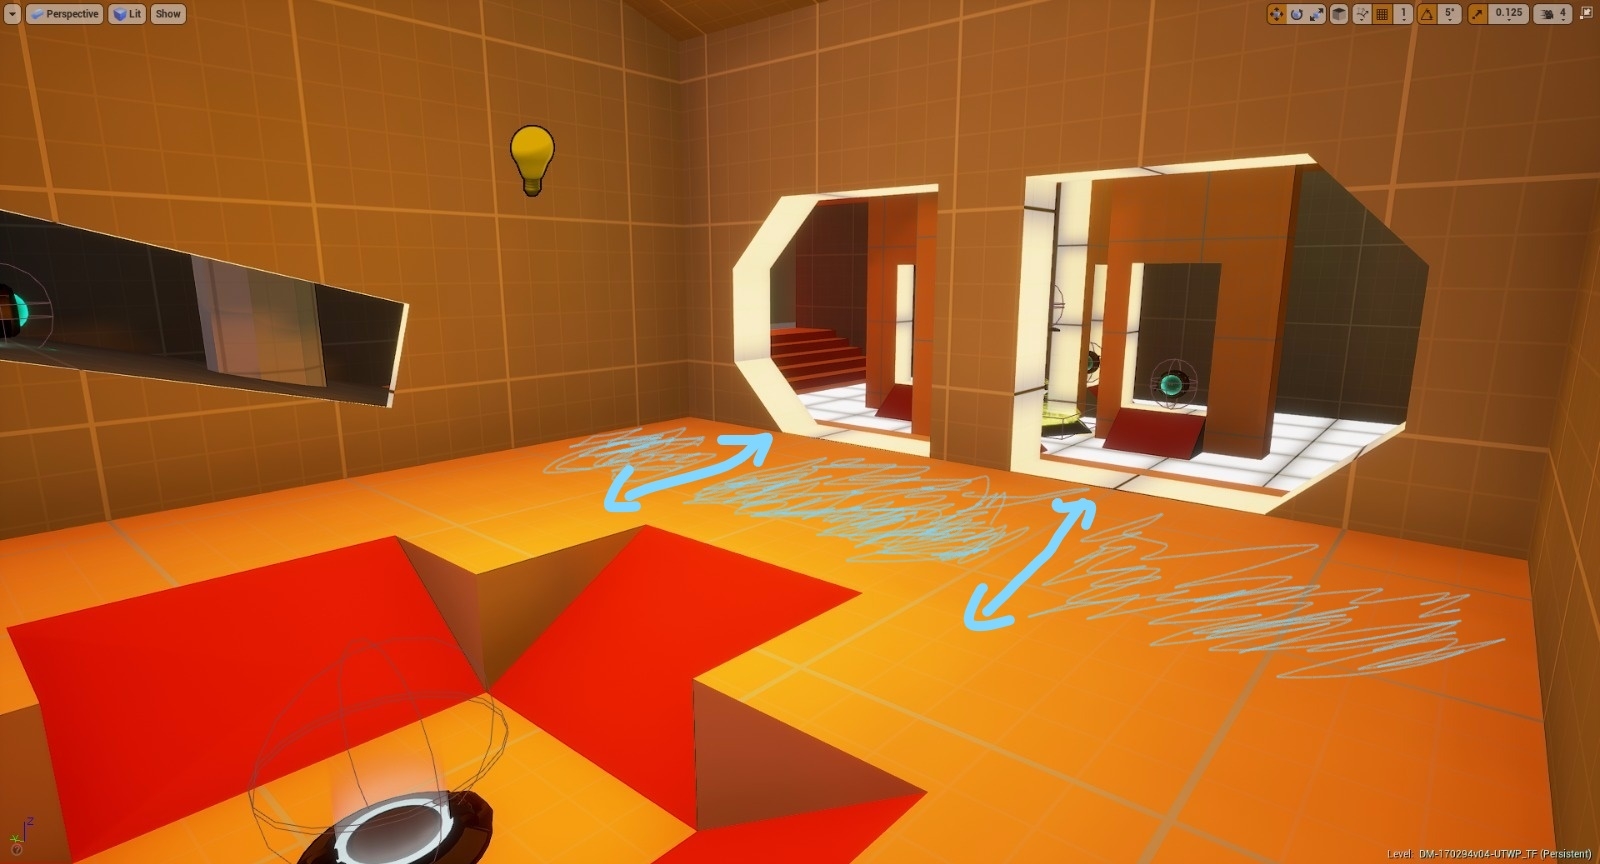
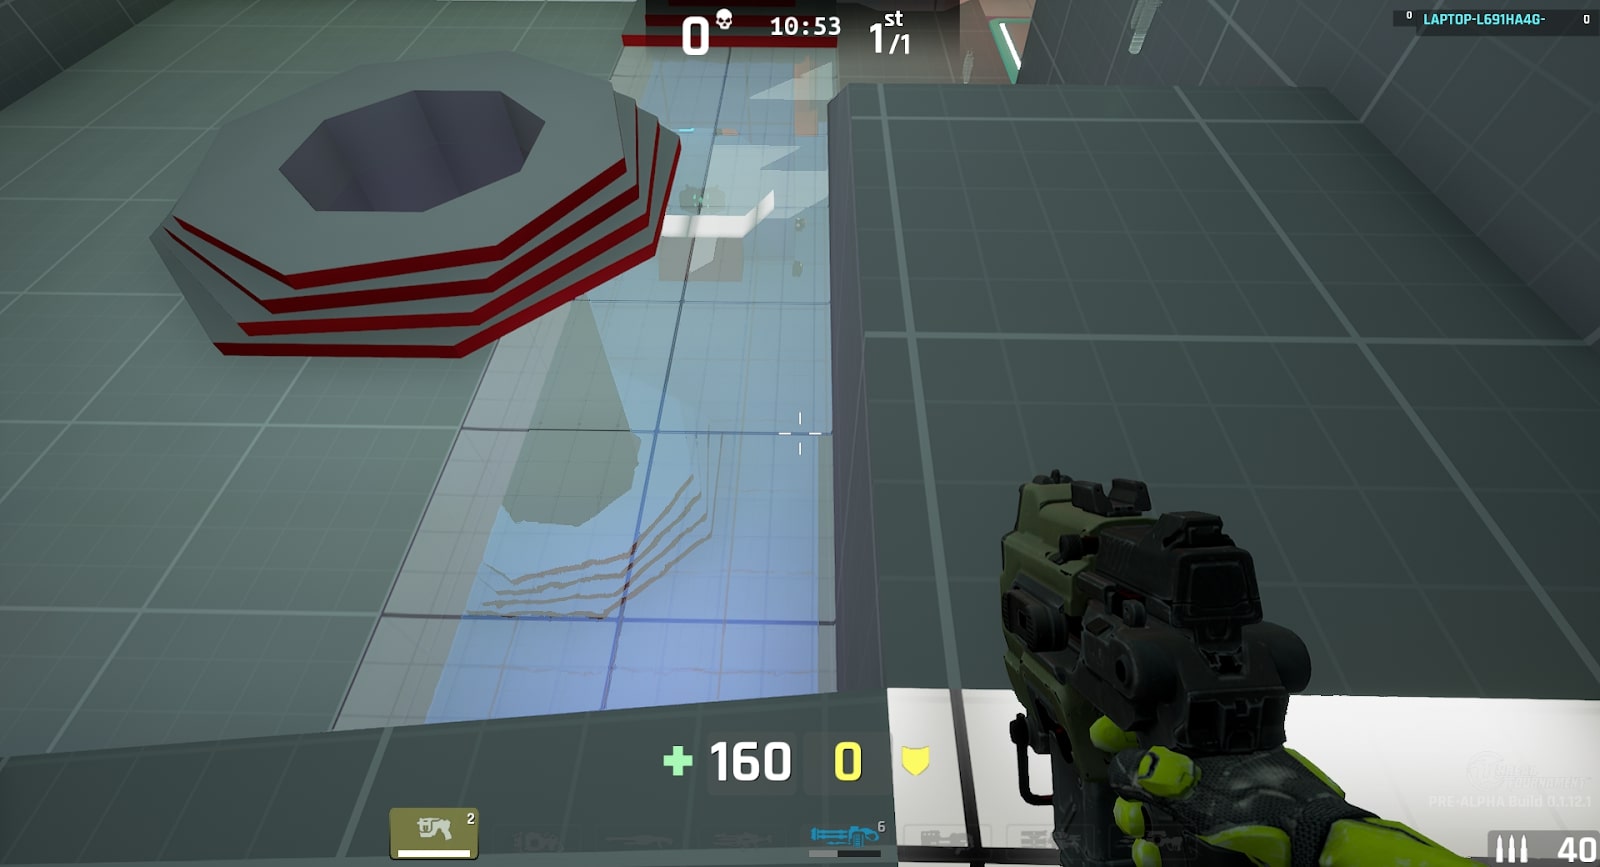
A showcase of the pickup trails and how they guide players to combat.
Previous efforts allowed me to test the map extensively. This revealed multiple issues.
Generally reducing the clutter and providing some respite between beats did wonders for enjoyment levels.
Once the level achieved what it was supposed to do, it was time time to finalise everything gameplay related – fine-tune the pickups, weapons, and spawns as well as remove the last flow-breaking clunky geometry.
These final acts of balancing could make or brake the level. I made sure to go through the motions correctly.
Fixing final few problems with Navigation
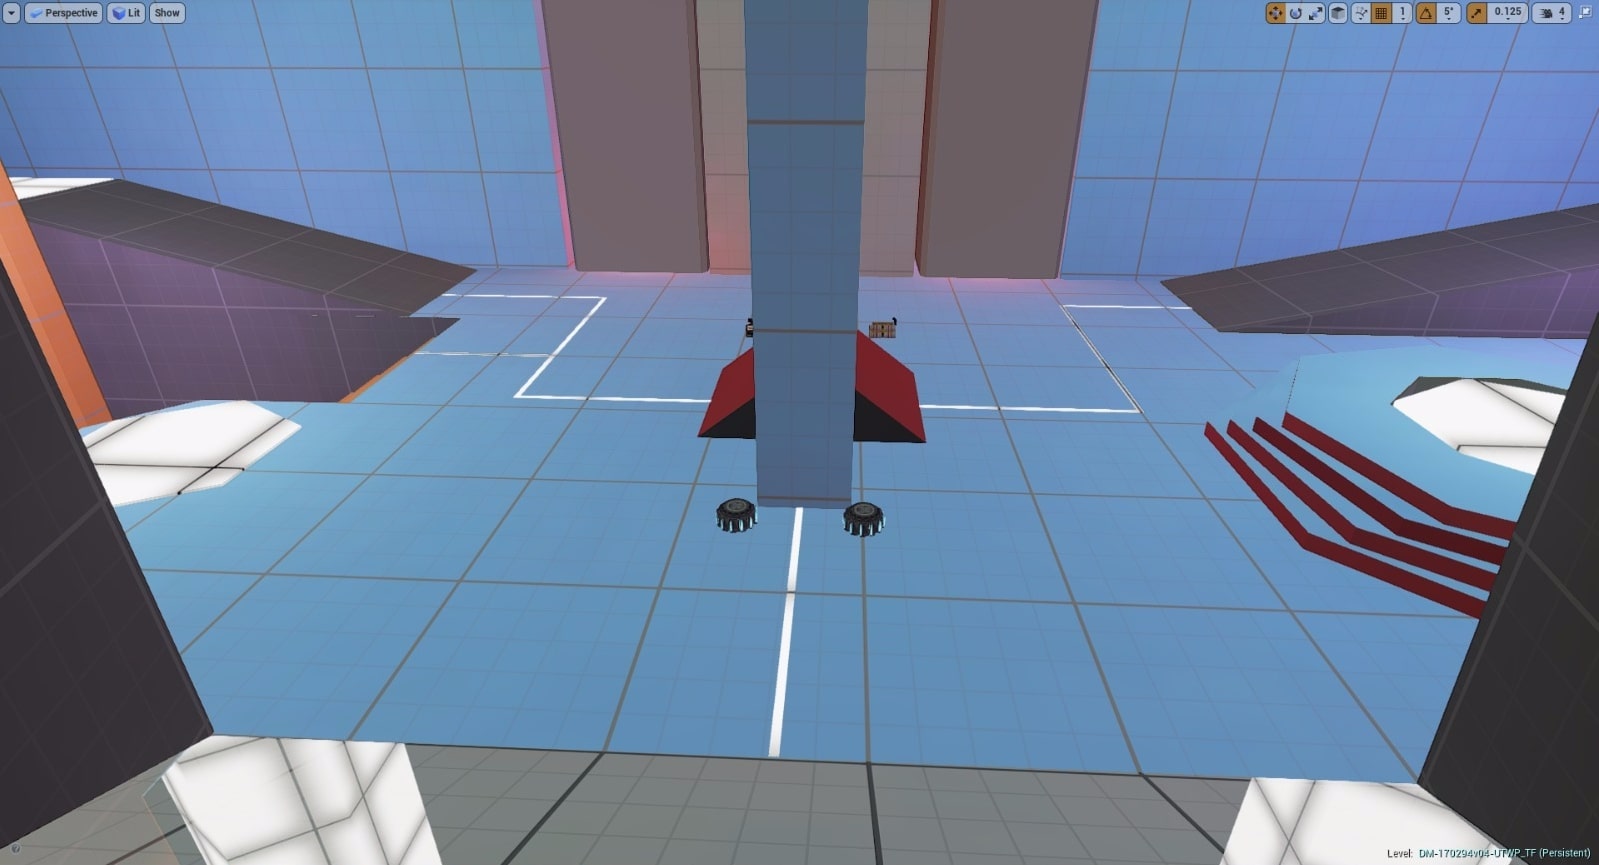
Removing geometry and increasing room space for better flow.
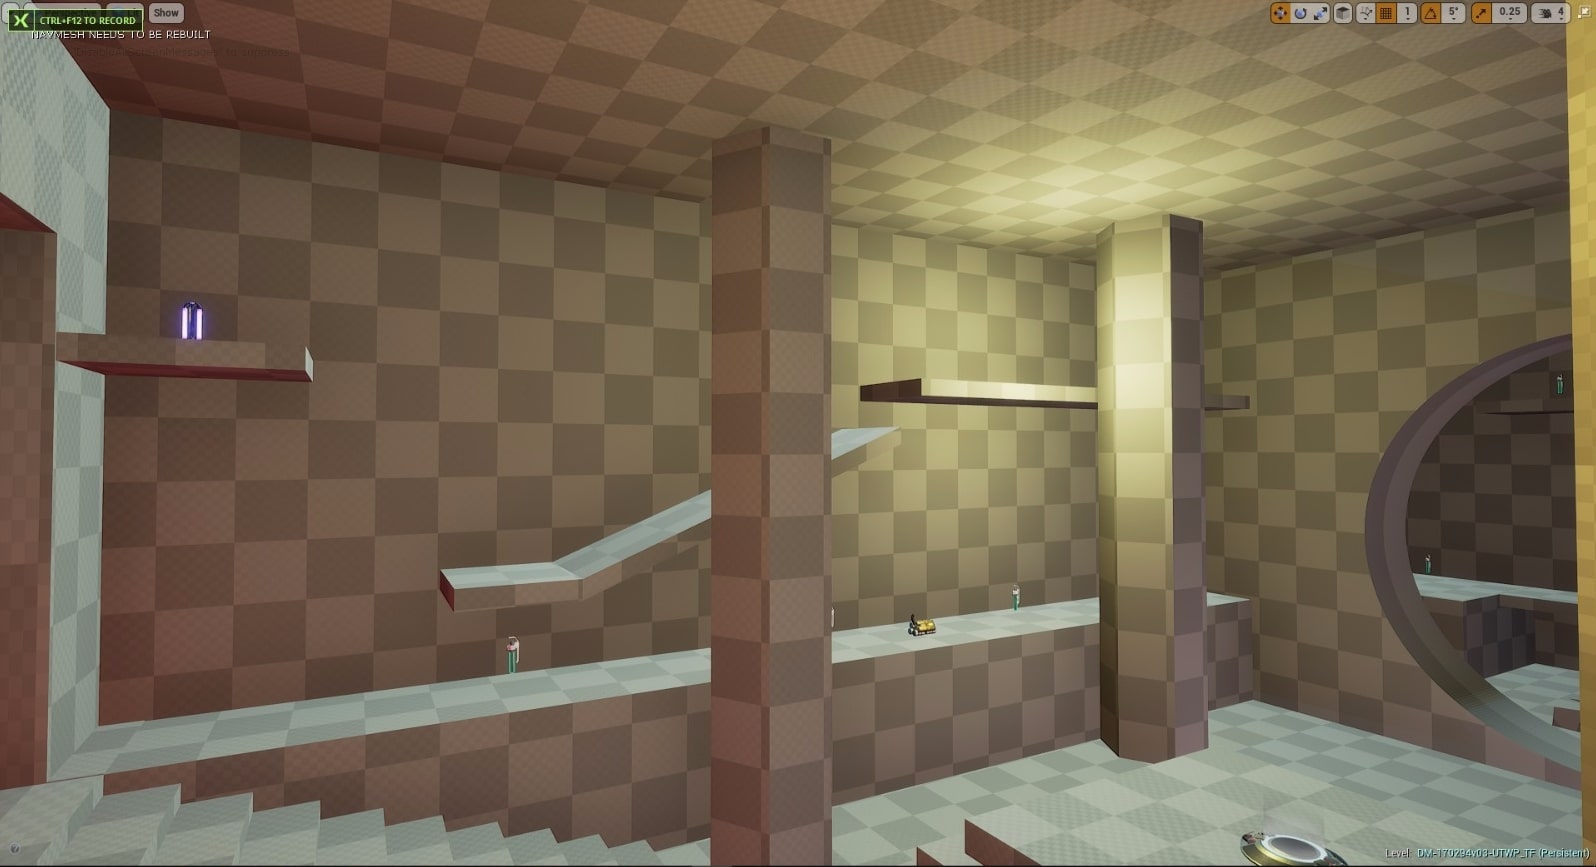
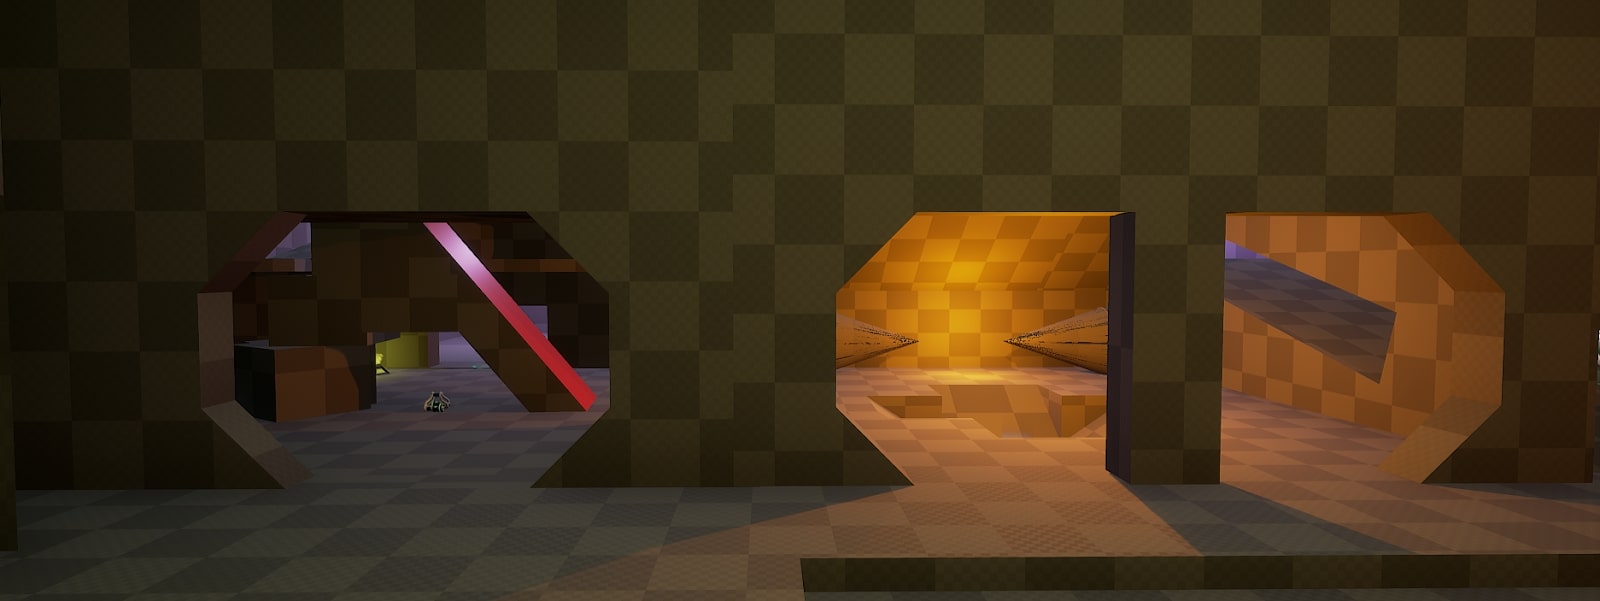
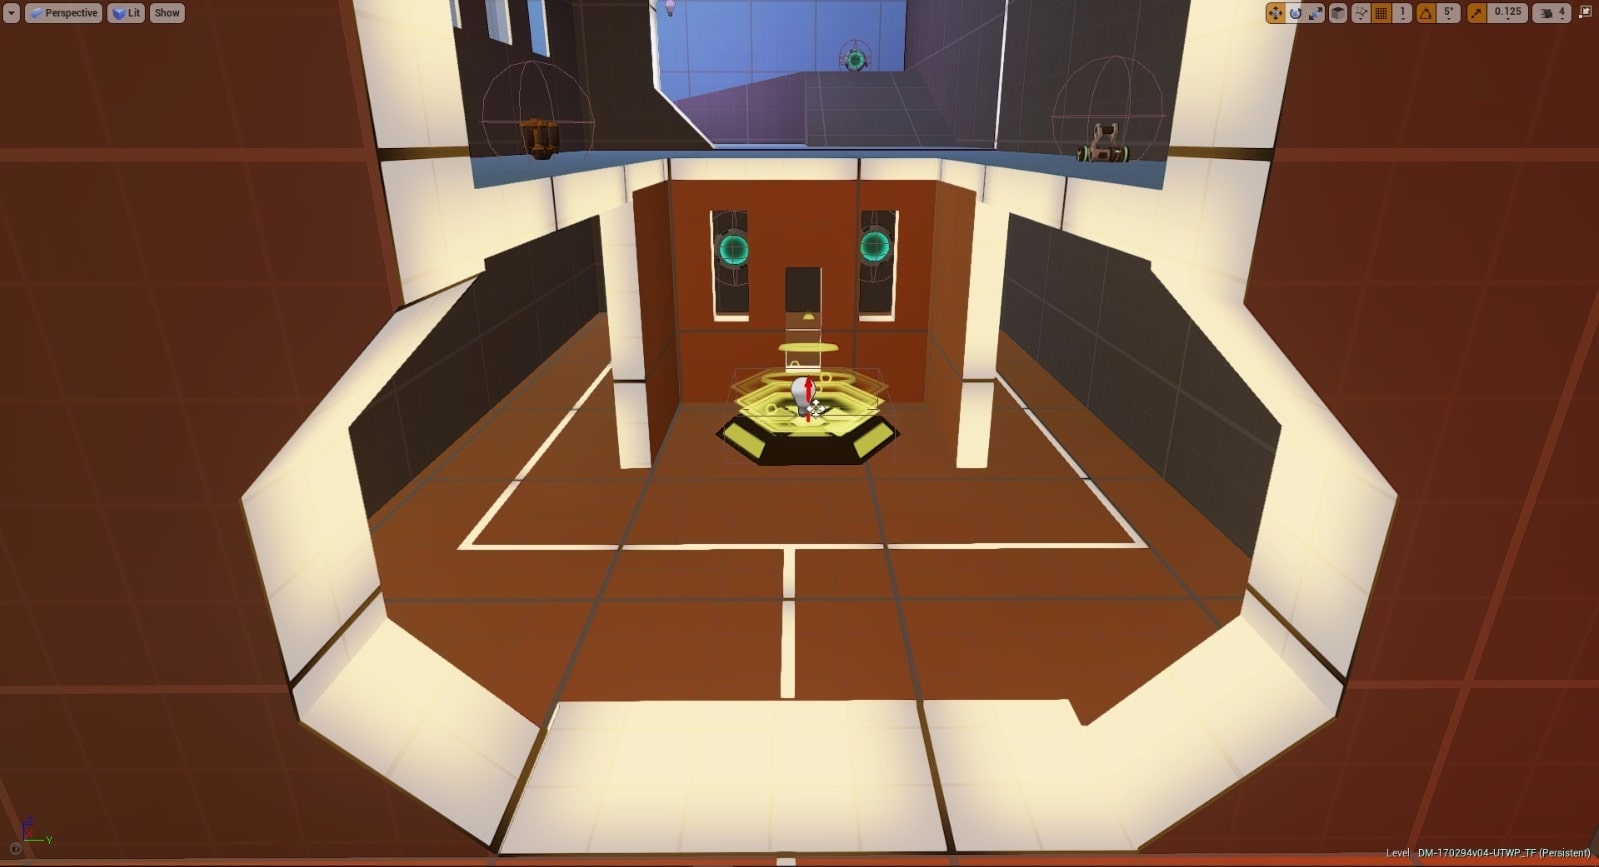
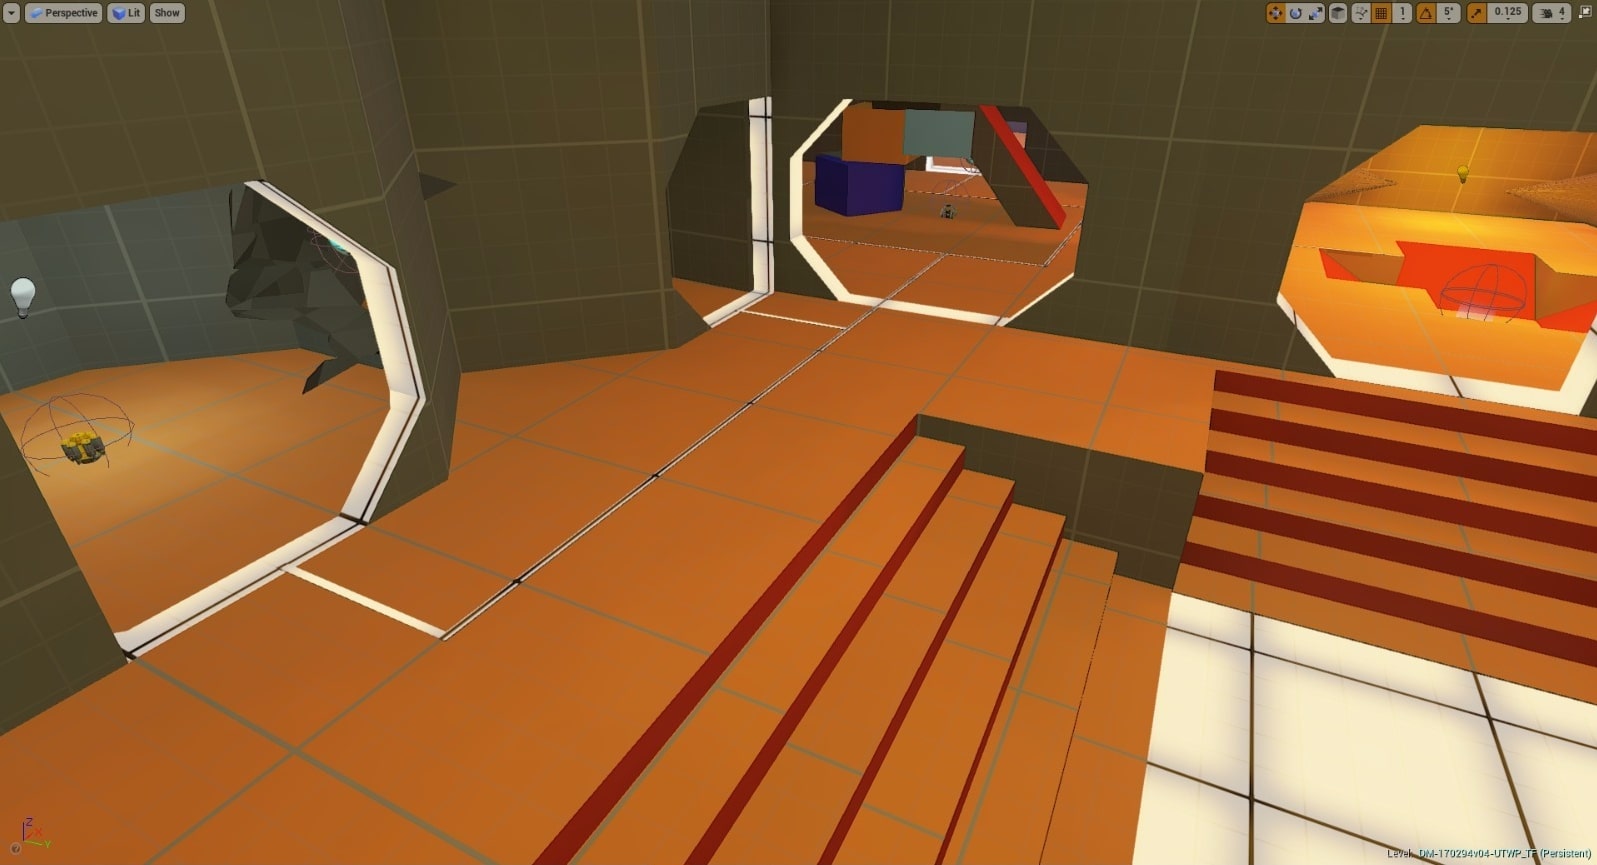
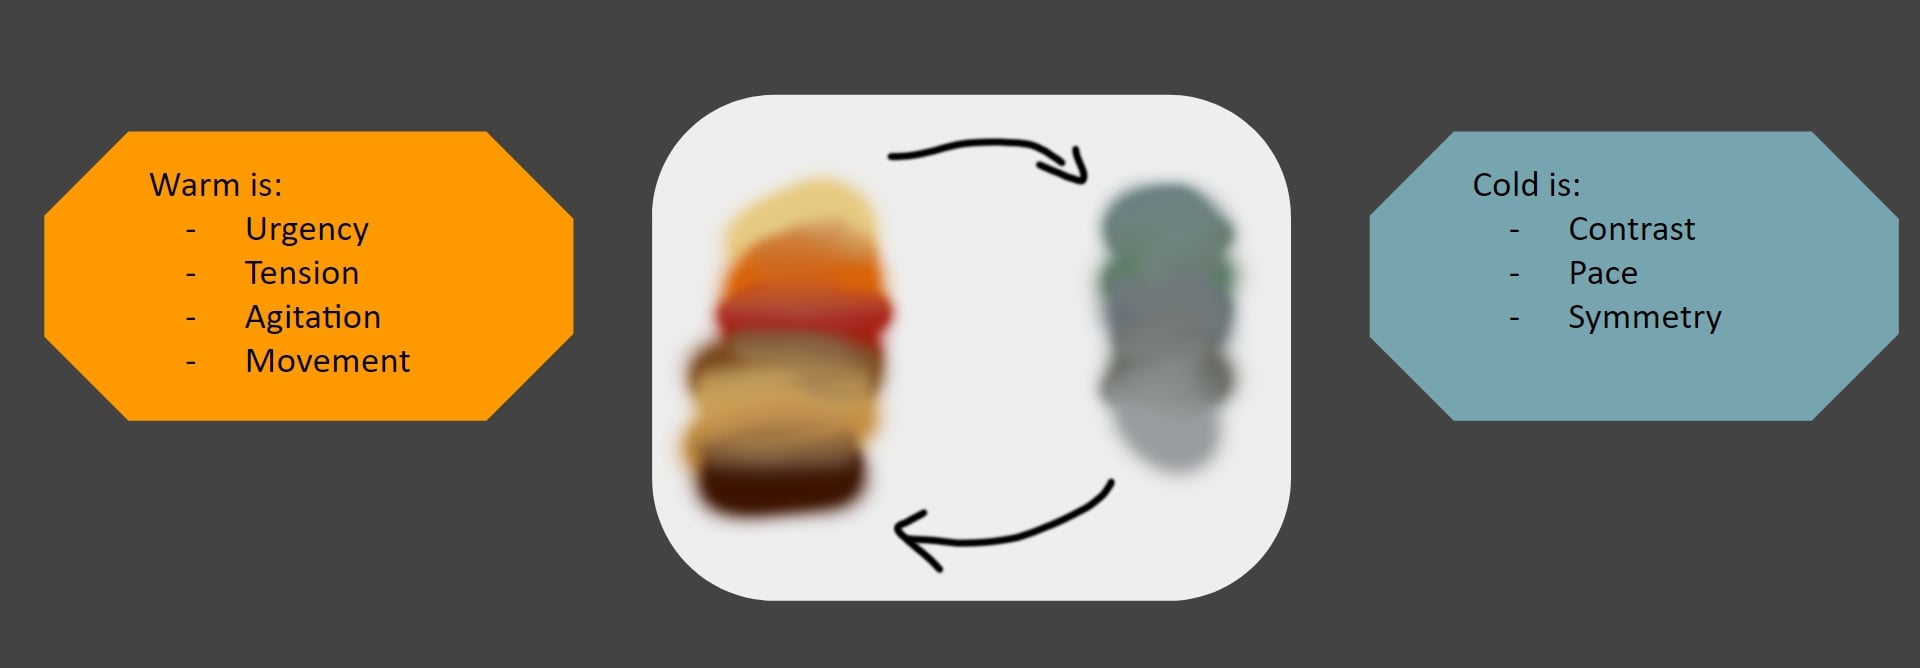
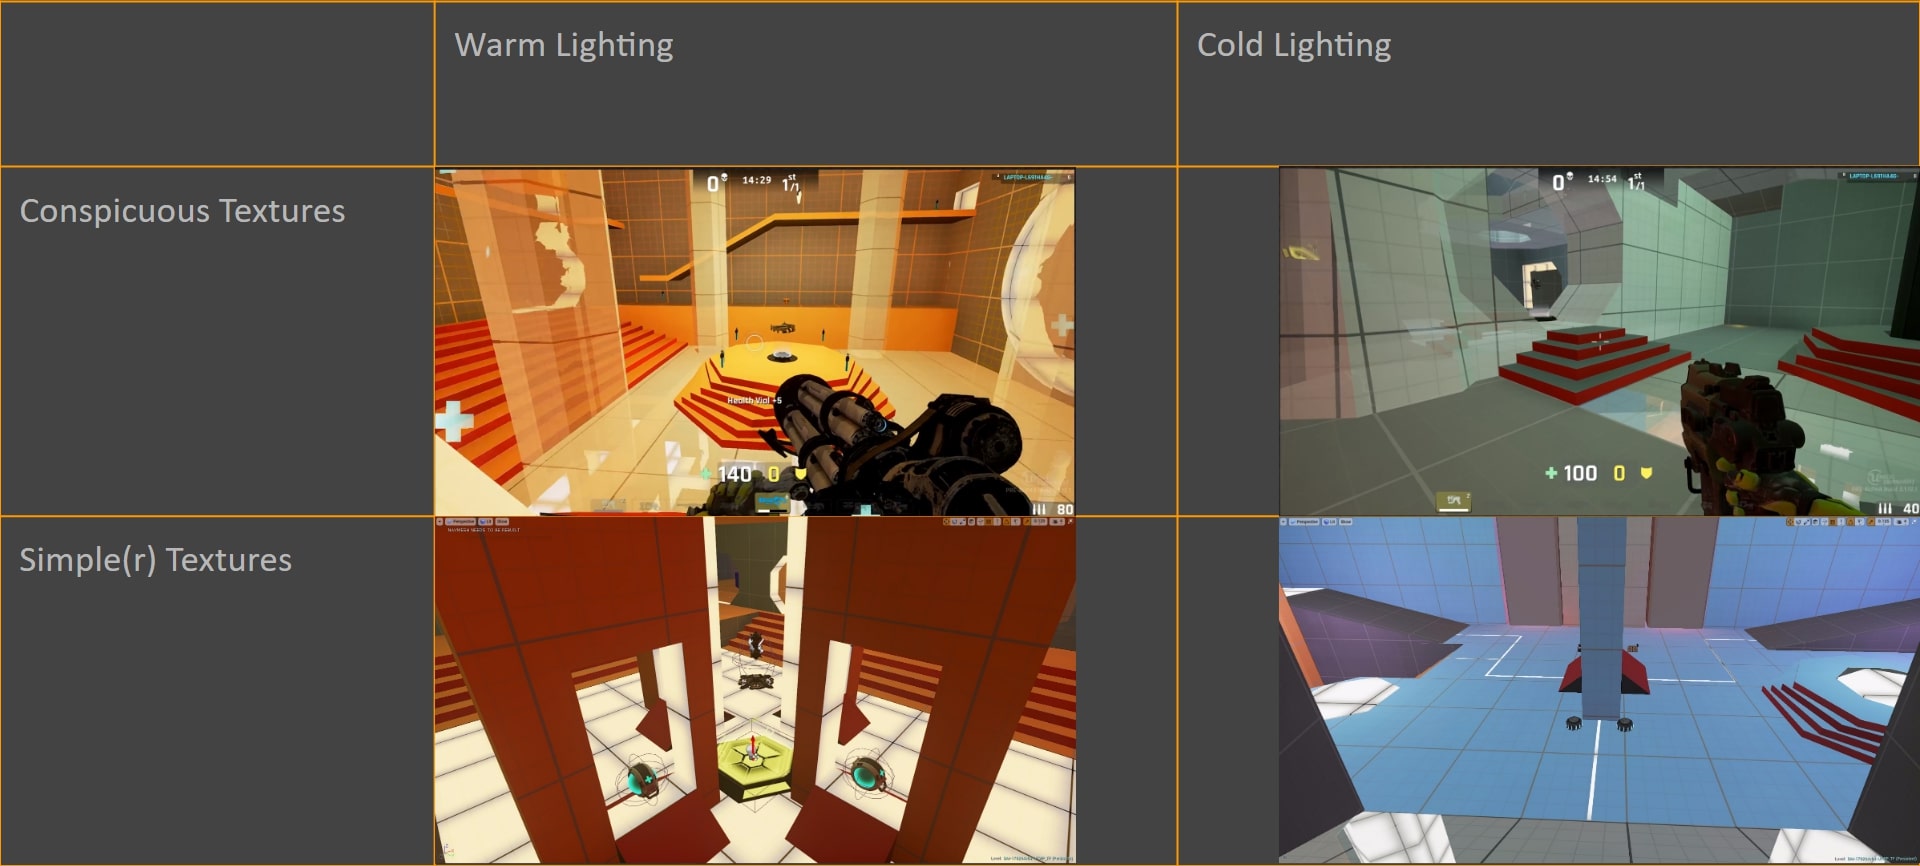
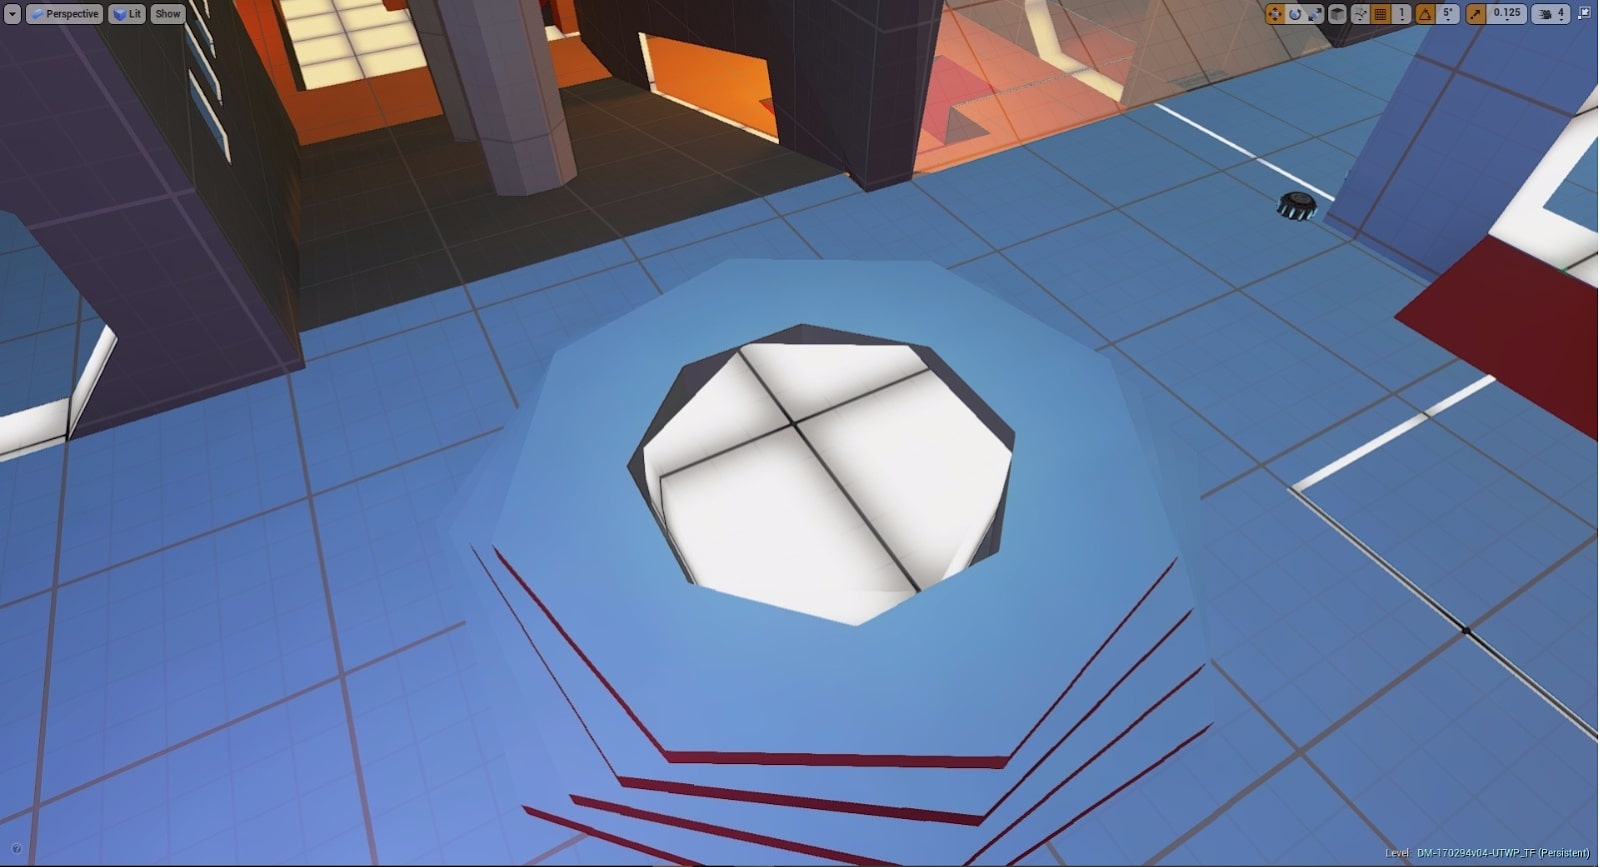
The final step to make sure my level ‘sells’ was to make it visually appealing in a way that complements UT4’s gameplay.
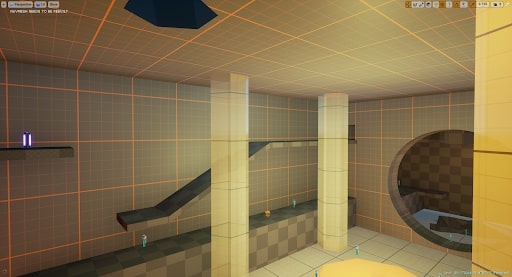
I needed strong information design to combat the interconnected complexity of the level.
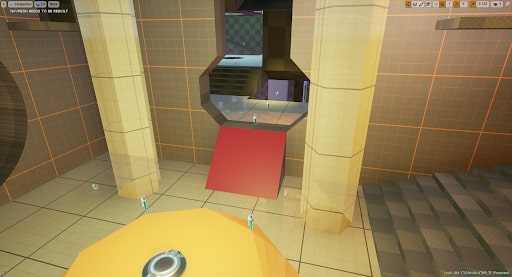
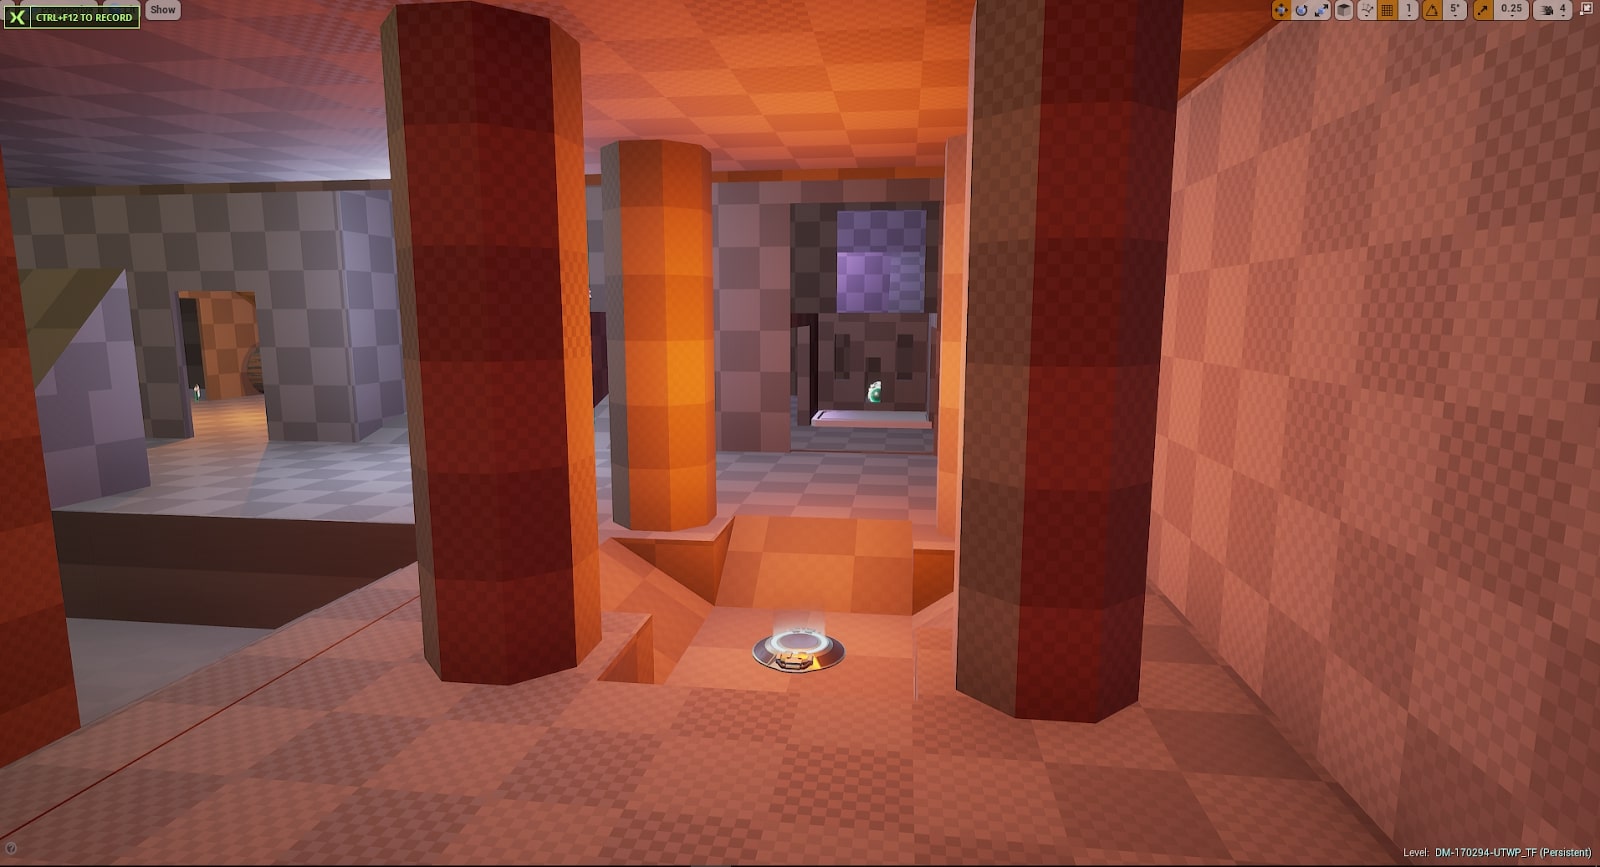
The visual polish I put together helped the level stand out. The textures and colours gave a pleasant vibrancy to the world. It also helped players memorise rooms and travel along the layout.
Crafting the Visual Information Design
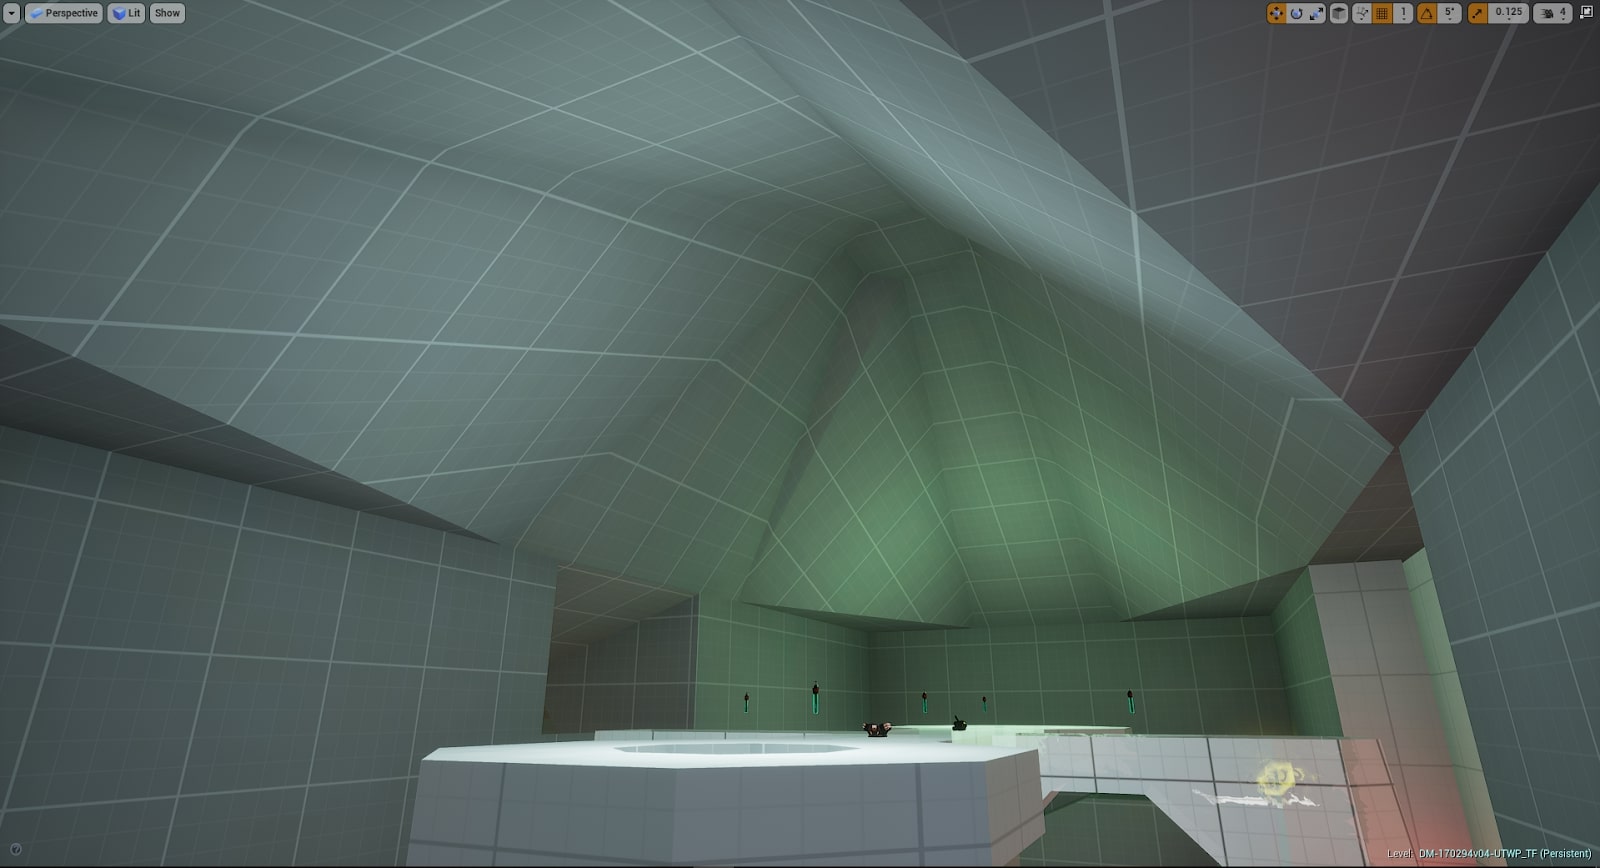
Adding nice little touches just because it makes it feel better.
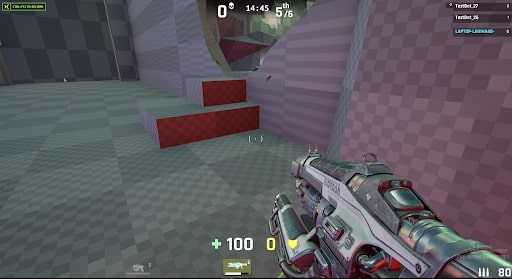
A run through the level with final textures and lighting.
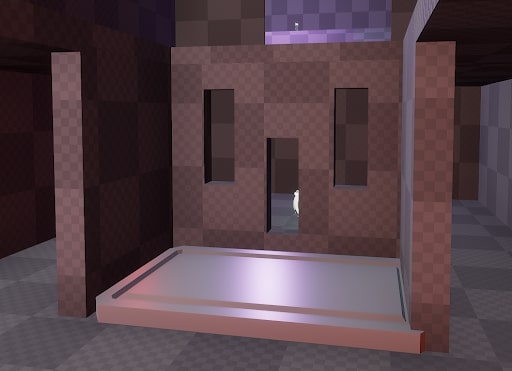
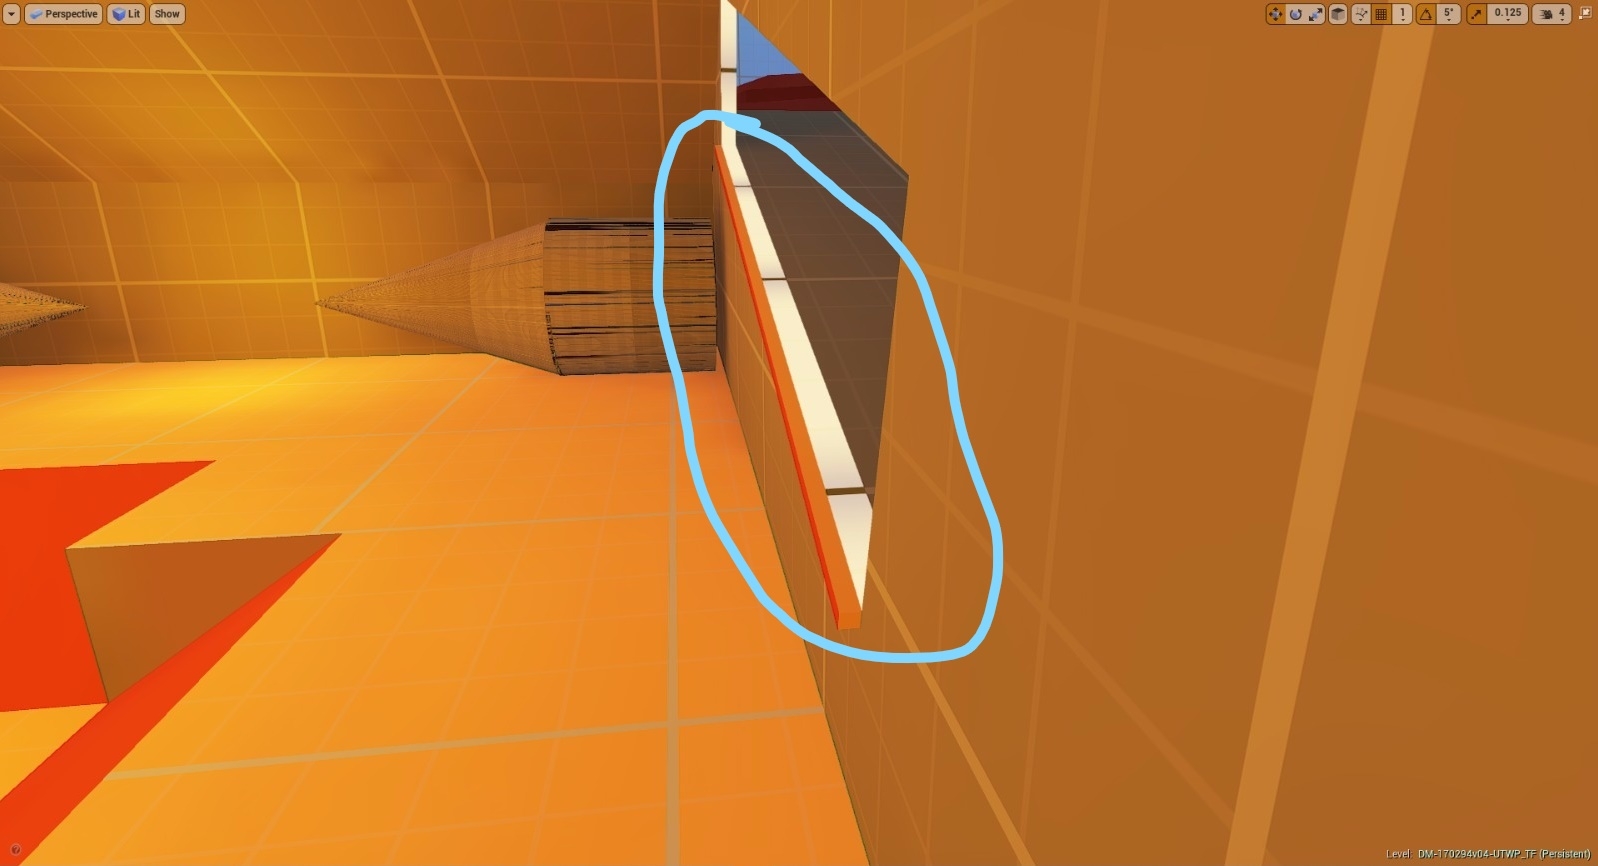
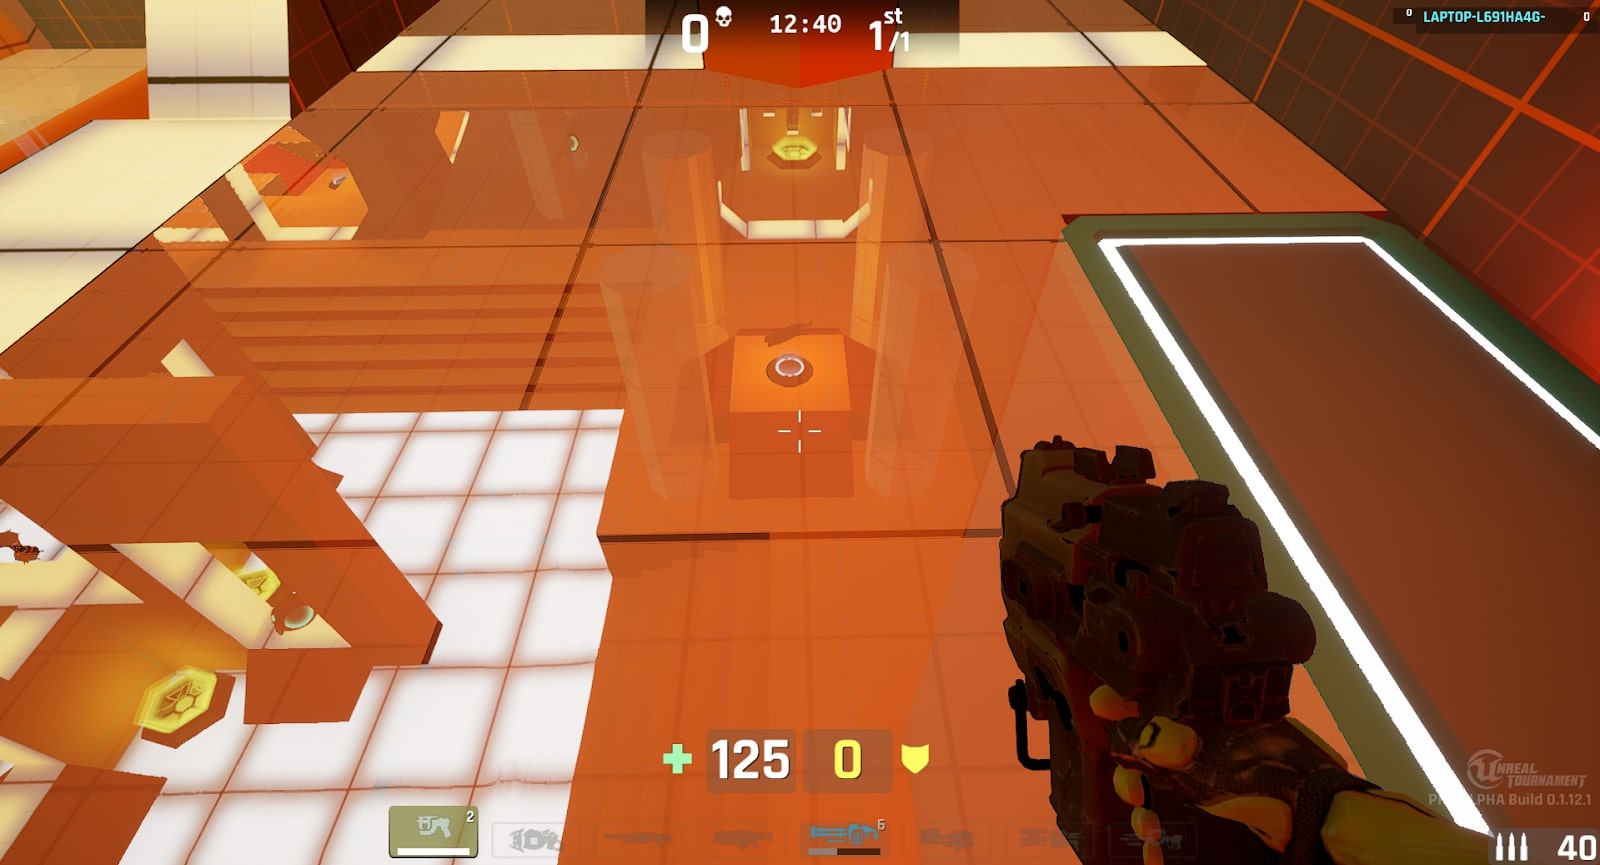
Adding transparency for additional drama.
Mine was one of the levels that got picked to participate in a community playtest with professional Unreal Tournament players.
I was fast in building the level, so I had time to introduce a more advanced level of visual guidance and polish, even make things pretty.
The level of polish on display was above the set expectations which helped the level stand out despite its unusual nature.